
Hats have been a popular apparel for centuries, and guess what? You can start selling them online right now without having a physical shop.
This guide will show you the steps to selecting your ideal products, finding your customers, and selling them online, in short, how to design an online hat store or website.
Let’s get into it!
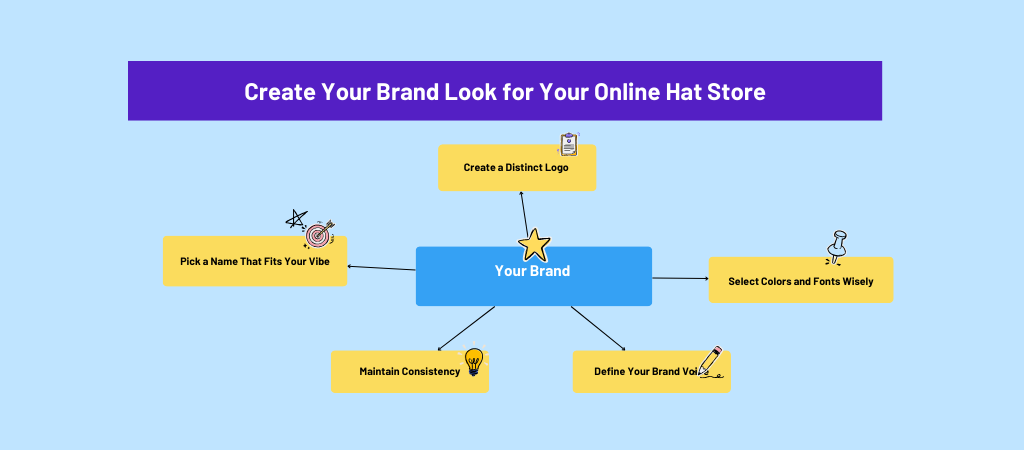
How To Create Your Brand Look for Your Online Hat Store
If you’re considering how to design an online hat store, the interface and the shopping experience will play a huge role in making your brand stand out among the competitors.
Below, we will provide a guide on how to create a brand for your online hat store.
Pick a Name That Fits Your Vibe
Choose a name that reflects the personality of your brand, it should feel natural, catchy, and easy to remember. Consider names that suggest the style or attitude of your hats.
Are you bold and modern? Chill and vintage? Creative and artsy? Let your name tell a little story without making people work too hard to figure it out.
Create a Distinct Logo
A great logo doesn’t need to be super complicated or expensive. It simply needs to fit your style and be easily recognizable. A simple text or icon-based design often works best.
Select Colors and Fonts Wisely
Colors and fonts instantly set your website’s mood without words. Soft colours suggest a clean, simple style. Bold, bright colours can show a streetwear vibe. Choose two or three primary colours and use them consistently on your site, social media, and packaging for a unified look.
Keep fonts simple. Pick one font for titles and another for the main text. Make sure they are easy to read and fit your brand’s energy.
Define Your Brand Voice
If your hats are fun and playful, your website writing should convey that same sense of fun and playfulness too. If your hats are sleek and stylish, your words should feel smooth and professional.
Think of your brand voice like how you’d talk to a friend, and use that same tone all across your website and social media.
Maintain Consistency
Once you’ve decided on your name, logo, colors, fonts, and voice, stick to it. Consistency builds trust. It makes your online hat store look professional, even if you’re just starting. It helps customers remember you.
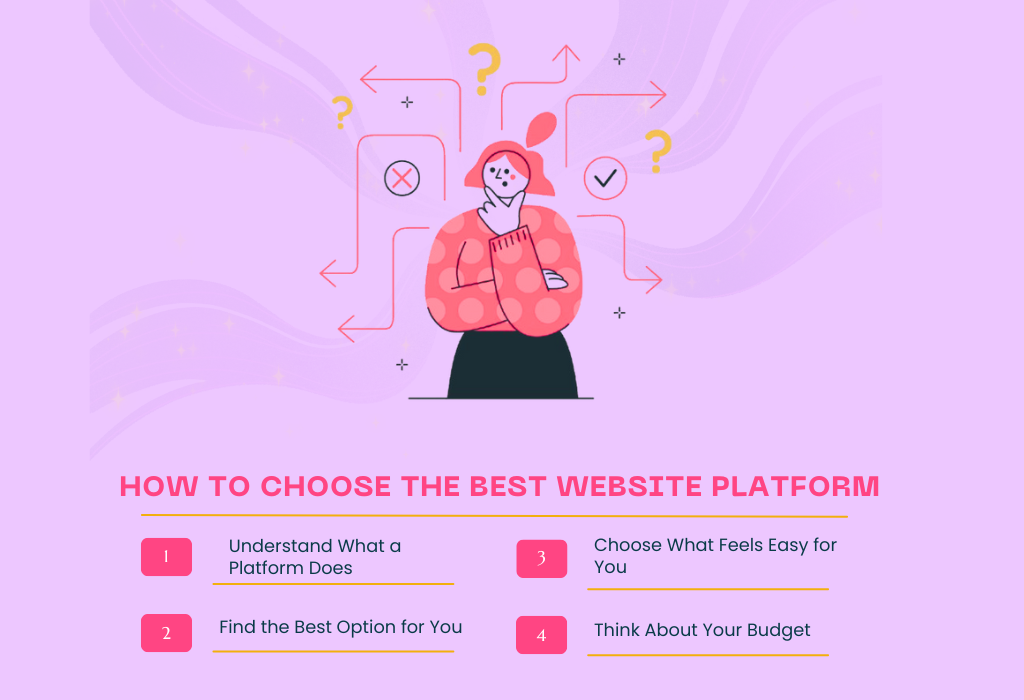
How To Choose the Best Website Platform for Your Online Hat Store
You’ve got your brand look and hat style sorted, and you’re ready to build your online store. Now for the key decision: where to build your website.
Good news: You don’t need to be a tech expert to make a good choice. You just need some guidance, a clear idea of what you want, and a few good choices. That’s exactly what we’ll cover here in simple language, no tech talk.
Step 1: Understand What a Platform Does
Think of a website platform like the foundation of your house. It’s where you build everything: your pages, your product listings, your checkout process.
Some platforms are extremely simple, others offer extensive control, and a few fall somewhere in between. Your job is to find the one that fits your needs without causing you undue stress.
Step 2: Find the Best Option for You
There are multiple options for ecommerce platforms for small businesses like yours. But we will be using EasyCommerce for its convenience, ease of use, affordability, and flexibility.
EasyCommerce is an all-in-one ecommerce platform for WordPress, which lets you sell both physical and digital products from the same interface. It comes with an intuitive design, an easy-to-follow setup process, and all the essential ecommerce features built in.

So, it’s a great option for entrepreneurs that very limited tech experience.
What’s good about EasyCommerce:
- Your website will remain fast, even with a large number of products and visitors.
- You get a helpful dashboard that shows you how your sales are doing, carts people left behind, and recent orders.
- You can set up alerts to know when you’re running low on products.
- You can offer different payment options, and EasyCommerce doesn’t charge you additional fees when customers make a purchase.
- You can make your product pages look just how you want with easy templates and a drag-and-drop tool.
- You can list as many products as you want and easily grow your business later.
- If you’re using another store platform, you can easily move your information to EasyCommerce.
How much does it cost?
The core plugin is free. To use it, you’ll need a registered domain, a place to host your website, a WordPress site, and something to sell.
Step 3: Print on Demand or In-house Inventory?
Here’s a big question: Do you want to stock hats yourself at home or in a warehouse, or would you rather have a company print and ship the hats for you?
Print-on-demand means you only make a hat when someone orders it. No upfront costs, no piles of unsold hats sitting in your garage.
Stocking your inventory gives you more control over quality and branding, and potentially better profits, but it also requires more work and risk.
Both ways work. It just depends on how hands-on you want to be.
Step 4: Think About Your Budget
Most platforms offer various pricing plans tailored to your specific needs. Some might cost $20/month, while others may cost $70 or more, once you factor in apps and features.
Make sure you understand what you’re paying for and what’s included, so you’re not surprised later.
Step 5: Choose What Feels Easy for You
The best platform is the one that makes you feel excited to build, not overwhelmed. If setting up your hat website feels like climbing Mount Everest, you probably picked the wrong one.
You want something that makes it fun, fast, and simple to bring your vision to life.
How to Design an Online Hat Store or Website
Now that you’ve picked out your website and figured out your brand image, let’s start designing your online hat store.
System Requirements
- WordPress: Version 6.0
- PHP: Version 7.4
If you know how WordPress works, turning on this plugin is just like turning on any other one.
If you’re new to WordPress, here’s the simple way to get EasyCommerce working:
Step 1: Set Up Domain and Hosting
As EasyCommerce is a WordPress plugin, you will need a WordPress site along with a domain name and a web hosting service. Some hosting services have a one-click install for WordPress, which you can use to quickly set up your website.
Here are a few hosting services we recommend –
Step 2: Install and Activate EasyCommerce
Once you have your WordPress site set up, let’s look at how to install and activate EasyCommerce on your website.
Method 1: Downloading it from the EasyCommerce Website
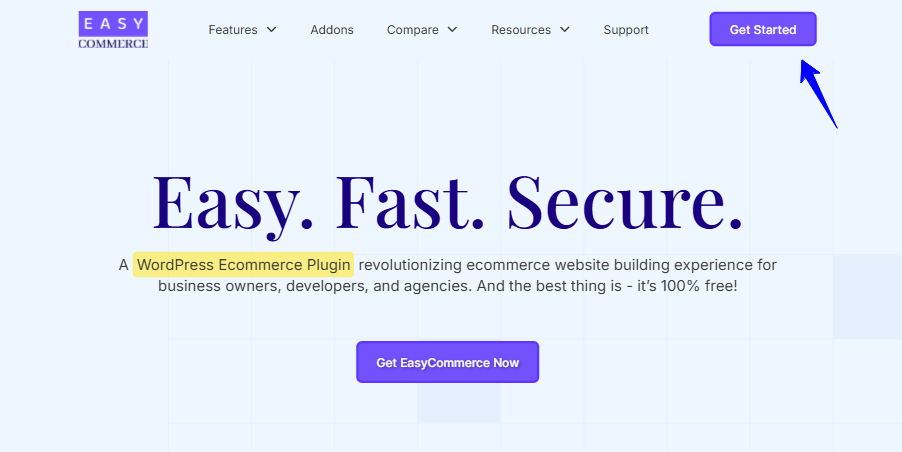
- Open your internet browser and navigate to the EasyCommerce website. Look for a button labeled “Get EasyCommerce Now” and click it.
- A small box will appear, asking for your name and email. Type them in and then click “Download Now”. The file will start downloading to your computer.
- Go to your WordPress website’s dashboard, where you manage your site.
- On the left side, find “Plugins” and click “Add New Plugin”.
- At the top, you will see a button labeled “Upload Plugin”. Click it.
- Click “Choose File”, locate the EasyCommerce file you just downloaded (it may end in “.rar” or “.zip”), and then click “Install Now”.
- After it’s installed, you’ll see a button that says “Activate Plugin”. Click it, and it will take you to a page where you’ll see EasyCommerce.
- Click the “Setup Wizard” button under EasyCommerce to start setting up your online shop.
Method 2: Downloading it from the WordPress Repository
- Go to your WordPress dashboard.
- On the left, click on “Plugins” and then “Add New Plugin”.
- Look at the top right, and you’ll see a search box. Type “EasyCommerce” in there and press Enter.
- Once you see EasyCommerce in the search results, click the “Install Now” button next to it.
- After it’s done installing, the button will change to activate. Click “Activate”.
- After you turn it on, you will see a page with all your installed plugins. Find EasyCommerce and click the “Setup Wizard” button to begin setting up your shop.
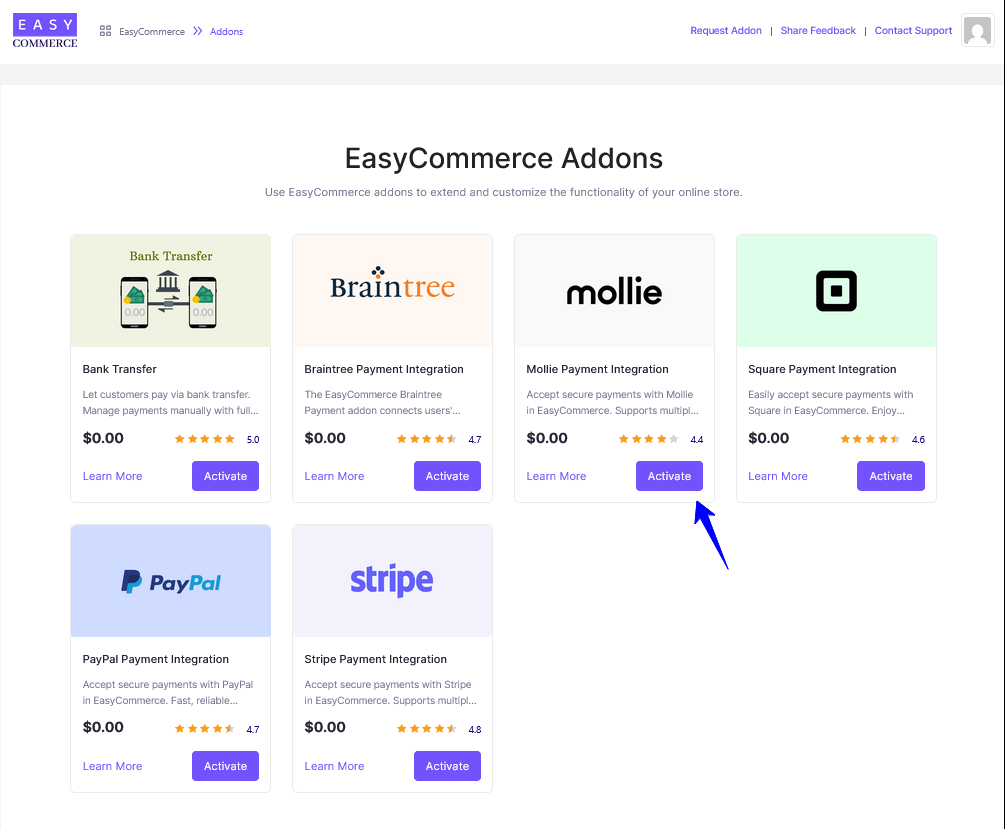
Step 3: Set Up Payment Methods
EasyCommerce allows you to add multiple payment gateways that enable users to pay for their purchases on your website. Here’s how you add them to your store –
- Activate Addons: Go to EasyCommerce > Addons, and click “Activate” under any of the payment gateways you want to include on your store.
- Testing Time: Go to Store > Settings > Payment and Enable Test Mode. This is like a practice area where you can try out the payment gateways without using real money. It’s a safe way to ensure everything works correctly before customers can access it.
- Select Your Payment Options: You’ll see small boxes following each payment method. Click the boxes for the ones you want to use. If you no longer wish to use it, simply uncheck the box next to it.
- Save Changes: After making any changes, click “Save Settings”. This tells the website to remember your recent actions.
Setting Up Your Payment Gateway Credentials
Here’s how to get each payment gateway ready to use with your EasyCommerce shop:
- Stripe: Stripe is a popular payment processor. You can access the Stripe documentation to create an account and get the credentials needed to connect to your website.
- PayPal: PayPal is another popular method for making online payments. You’ll need to create a “PayPal account for small businesses”. They’ll provide you with the credentials you need to enable PayPal to work with EasyCommerce.
- Braintree: Braintree is another payment gateway from the people who made PayPal. It’s especially suitable for bigger businesses. You’ll need to contact their Sales Team to create a special business account with them. They can also inform you about how it works and its associated costs.
- Mollie: Mollie is another payment option you can add. To make it work, you’ll need an API key and Customer ID. Check out the Easycommerce documentation here to learn how to find these credentials.
- Square: Square is a widely used method for businesses to accept payments. If you’re currently using Square but want to switch to Stripe (another payment processor) for a smoother experience, they offer a guide to help you get started.
Step 4: Set Up Shipping Methods
To set up delivery charges for your online hat store using Easycommerce, you’ll need to create shipping classes based on different locations.
Once these are in place, the website will automatically calculate the correct delivery cost when a customer enters their address. The guide below will walk you through the simple steps to add these rules and streamline your shipping setup.
- Shipping Settings: Go to your EasyCommerce Store > Settings > Shipping, and then click the Settings tab.
- Enter Shipping Countries: Look through the list of countries or type the name of a country you want to deliver to. Once you’ve picked all the countries, click “Save Settings”.
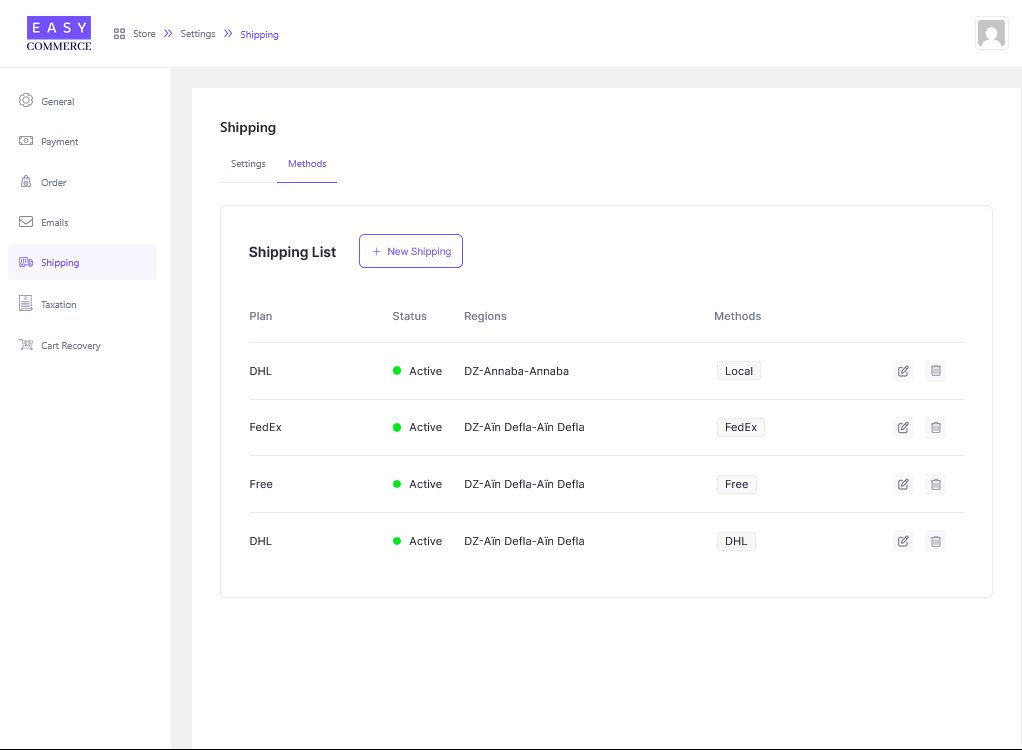
- Add Shipping Methods: Now, click on the “Methods” tab. If you haven’t set up any delivery rules yet, this page will be empty. Click the “New Shipping” button to make a new delivery rule.
- Configure Shipping Method: Now you need to fill in some easy details for this delivery rule, such as –
- Name: Give this delivery rule a simple name (like “Standard Delivery” or “Local Shipping”).
- Description: Write a little more about this delivery method if you want (like “Delivered within 3-5 business days”).
- Status: Choose “Active” if you want to use this delivery rule now, or “Inactive” if you’re going to turn it off for now.
- Regions: Tell it which places this rule applies to. This can be a Country, a State (like a region within a country), or even a City.
- Taxable: Check this box if you need to add tax to the delivery cost.
- Calculation Base: This is how the delivery cost is figured out.
- Method: This is where you enter the name of the delivery option (e.g., “Regular Mail”), the shipping charge, and include minimum or maximum expenditure limits for using this delivery option.
- Save Settings: Click the “Create Shipping” button to finish setting up this delivery rule.
- Manage Delivery Rules: You can view and modify all your delivery rules in the “Shipping List” section, located under the “Methods” tab.
Wrapping Up
You’ve learned the key steps: hat styles, audience, branding, and website. It can feel big, but every brand started small, just like you.
So, don’t wait for perfection. Thinking about how to design an online hat store might feel like a hurdle, but it’s the exciting first step in bringing your vision to life.
Frequently Asked Questions (FAQs)
Q. Do I need to be a web designer or developer to build my online hat store?
A. Not at all. Platforms like Easycommerce are designed specially for beginners. With simple drag-and-drop tools and ready-made templates, you can create a stylish, functional website without writing a single line of code.
Q. Should I choose print-on-demand or hold my inventory?
A. It depends on your goals and resources. Print-on-demand is great for beginners because you don’t need to invest in bulk stock. Hats are made and shipped only after someone orders.
Q. How do I attract customers to my online hat store?
A. Start by knowing your customer. Their style, interest, and where they hang out online. Use social media like Instagram, create fashion blogs or guides, and make sure your website reflects their taste.
Build a consistent brand voice and visual style so they instantly connect with your store.