


EasyCommerce has a dedicated section for listing and handling orders. This section includes everything from customer details to order progress to transaction ID. It’s intuitively designed to help you manage each order without any technical barriers.
In this guide, you will learn how to manage orders, email notifications, and track customer records using EasyCommerce.
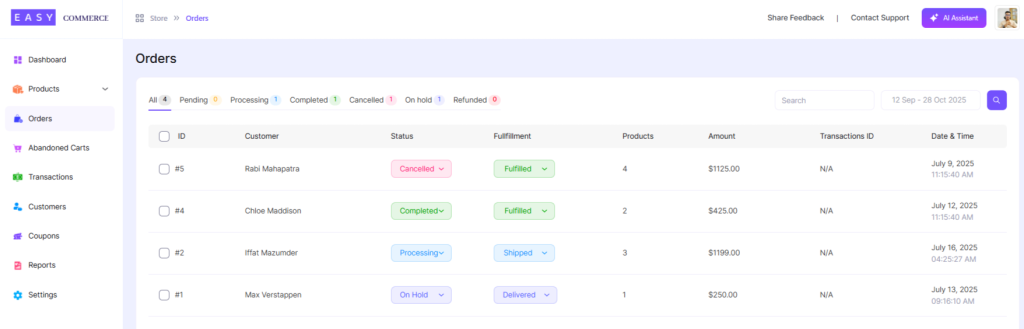
Step 1: Go to the Orders Section
Go to your WordPress site dashboard and navigate to Store and then Orders from the dashboard menu. You can manage all your ongoing, and completed orders from this section.
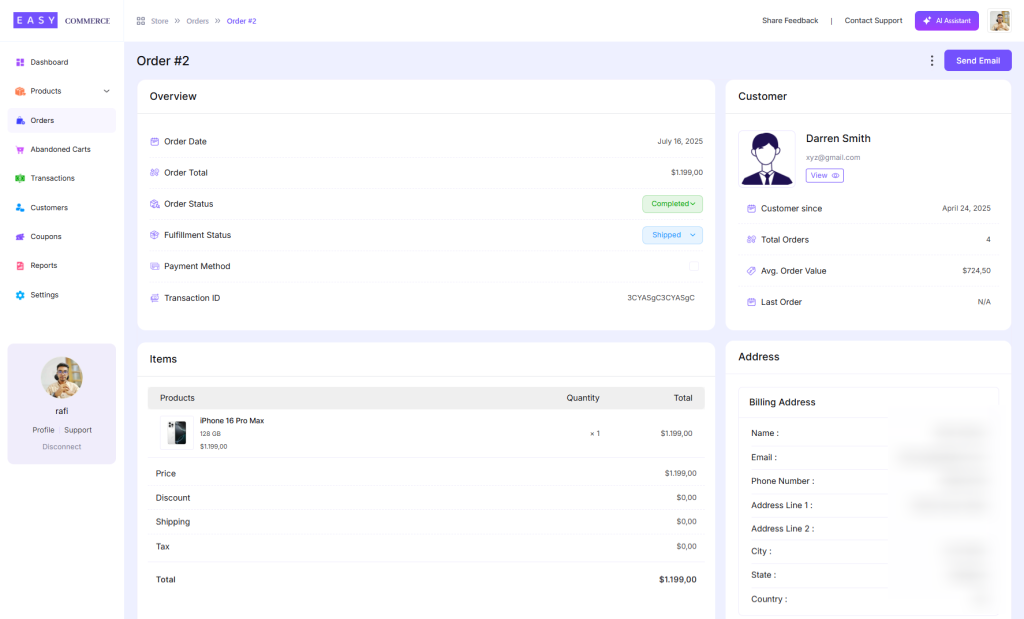
Step 2: Select an Order to Manage
You can preview an order for details like statuses, customer addresses, and ordered products. Hover an order and click on the ‘View’ button to open an individual order summary.
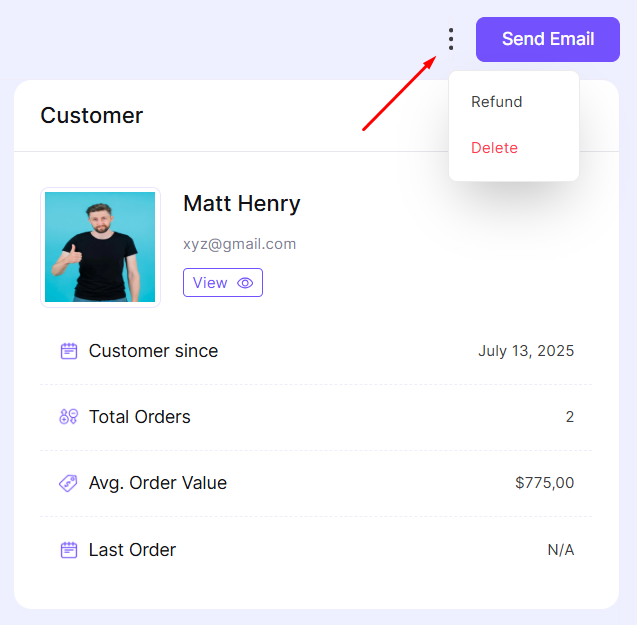
Step 3: Use the Action Button
The action button (three-dot) on the top right lets you take actions such as refund or delete the order.
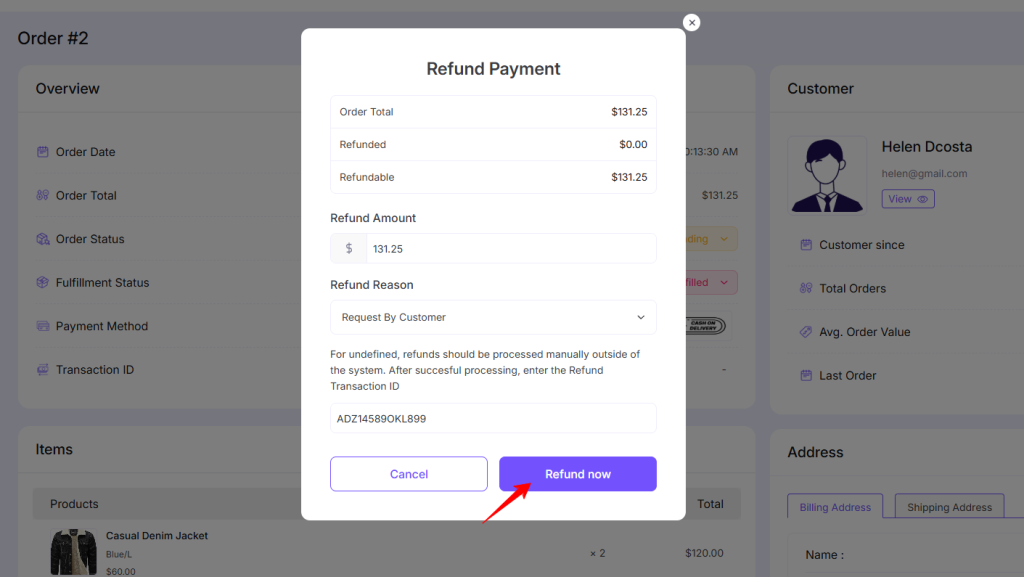
- Refund: To refund any specific amount back to your customer with this option. Enter the amount, select the reason for your refund, and click Refund now to process your return.
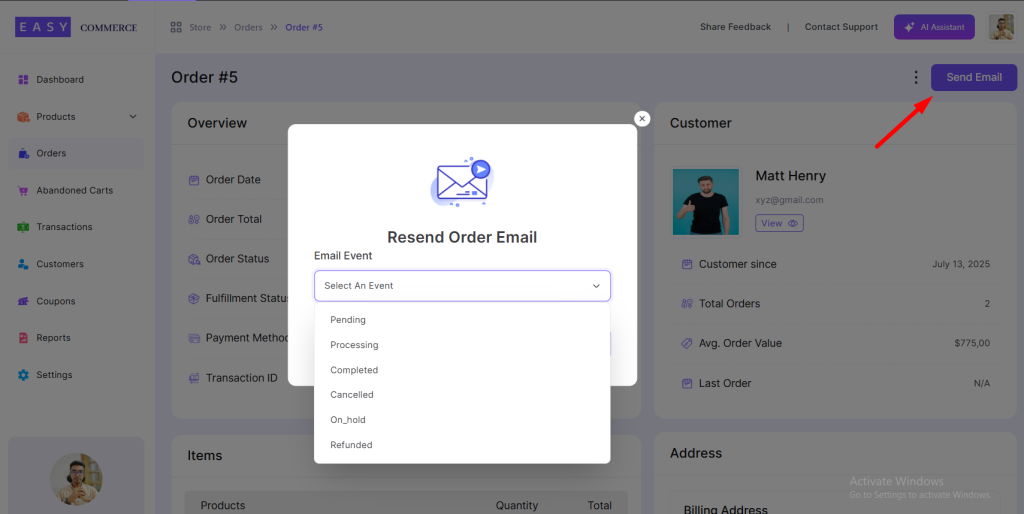
- Send Email: You can select from various email formats, such as New Order or Abandoned Cart, and send them directly to the respective customer—all from within the individual order section.
- Change Order Status: You can change the status from the action dropdown button or the order information section.
- Change Fulfillment Status: You can change the fulfillment status from the action dropdown button or the order information section.
Read associated documentation to know more about order and fullfillment statuses.
Was this doc helpful?