


To enhance your store’s checkout experience, Checkout Editor allows you to add, customize, and manage fields on your EasyCommerce Checkout page.
Here’s the step-by-step video tutorial guide:
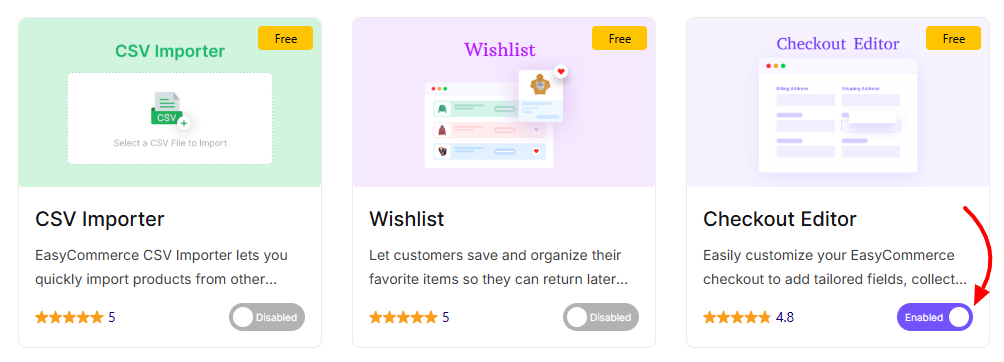
Step 1. Activate the Addon
- Log in to your WordPress dashboard.
- Go to EasyCommerce > Addons section and click “Enabled” under the Checkout Editor addon.
To learn more about addons activation, read this documentation on how to activate addon on EasyCommerce.
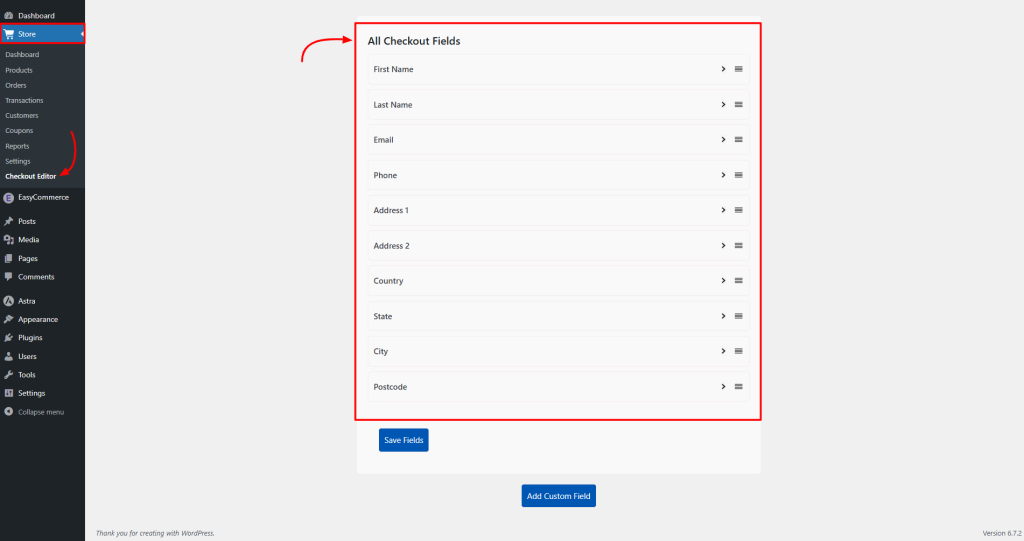
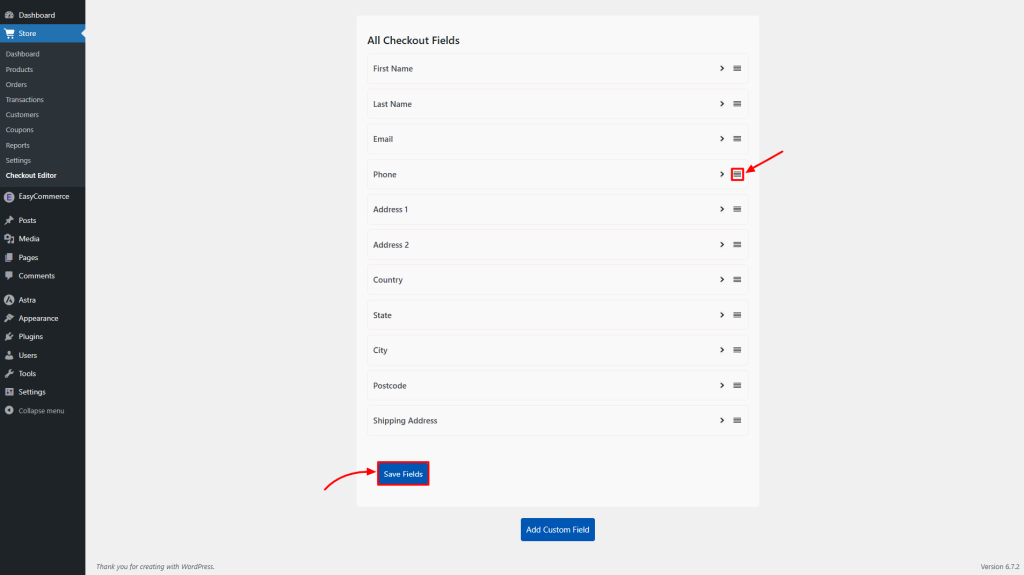
Step 2: Access the Checkout Editor
- Navigate to Store > Checkout Editor.
- You’ll see a list of all existing Checkout Fields.
- You can change their sequence by drag and dropping.
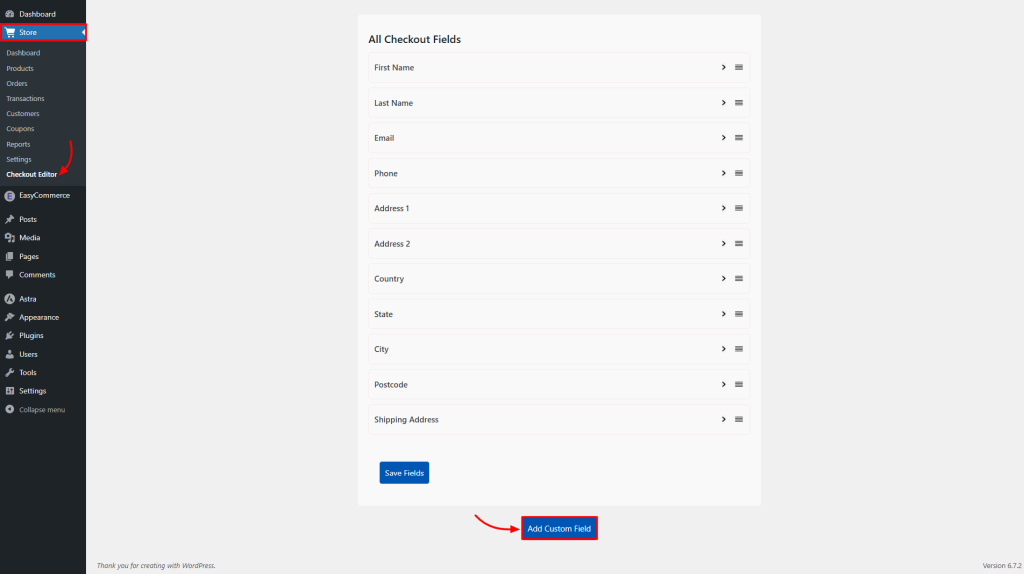
Step 3: Add a Custom Field
- Click “Add Custom Field.”
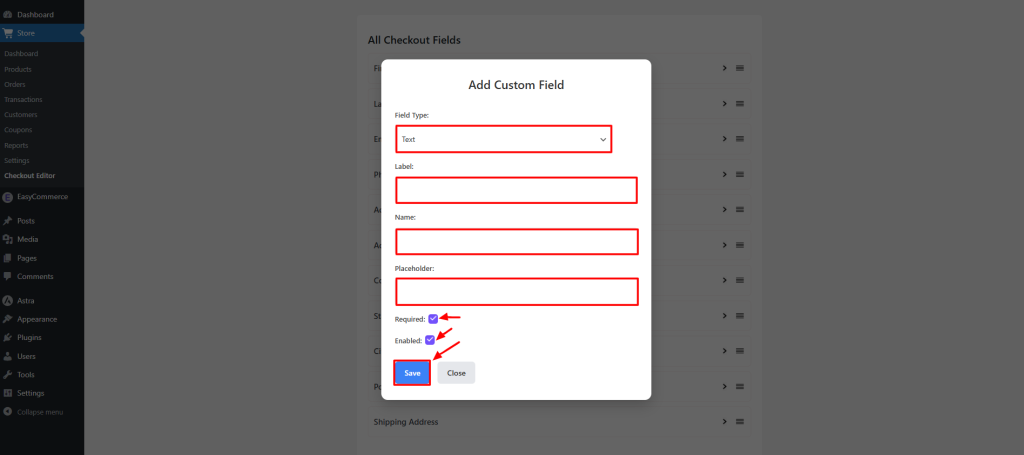
- Select your Field Type from the available options:
– Text
– Number
– Email
– Select (Dropdown)
– Date
– Time
– Radio Button
- Fill in the necessary details:
– Label – The name that appears on the checkout page.
– Name – The internal identifier for the field.
– Placeholder – Optional placeholder text inside the input.
- Configure the options:
– Required – Make the field mandatory (toggle on/off).
– Enabled – Activate or deactivate the field.
- Click “Save” or “Close” to apply your changes.
Step 4: Rearrange Fields and Save
- Drag and Drop: Move fields to reorganize them as needed.
- Click “Save Fields” to Apply your changes.
Step 5: Preview on the Checkout Page
- Visit your store’s Checkout Page.
- You’ll now see the new custom field displayed.
After the order is placed, customers can view their custom field information on the Thank You page and in the Order Dashboard.
Once you are happy with the setup, you’re all set to provide a customized and optimized checkout experience to your customers!
Was this doc helpful?