


Give your customers a smoother, faster shopping experience by integrating the Slide Cart with EasyCommerce. This feature allows shoppers to access their cart instantly from anywhere on your site without leaving the page.
Follow the steps below to activate and set up the Slide Cart addon in your EasyCommerce store:
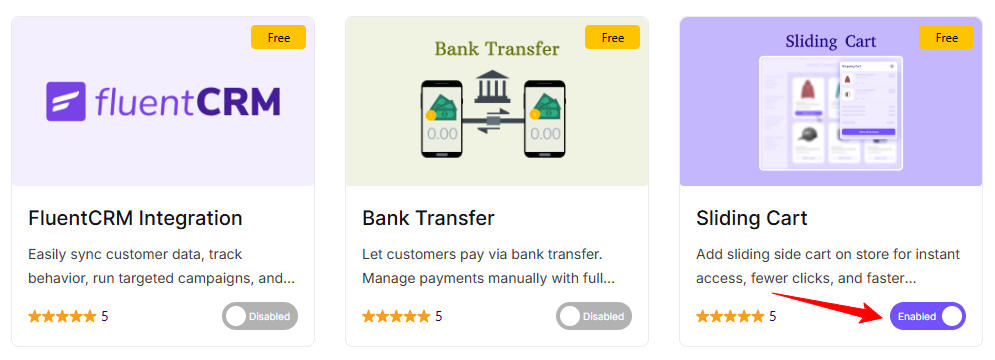
Step 1: Activate the Sliding Cart Addon
- Log in to your WordPress dashboard.
- Go to EasyCommerce > Addons section and make it “Enabled” under the Sliding Cart addon.
To learn more about addons activation, read this documentation on how to activate addon on EasyCommerce.
Step 2: Choose How You Want to Trigger the Slide Cart
- Decide how you want users to access the Slide Cart:
– Create a dedicated page, or
– Add a button, text link, or icon anywhere on your site where you’d like to trigger the slide cart.
Step 3: Add the Sliding Cart Class
Wherever you want the slide cart to be triggered, add the following CSS class:
class=”ec-slide-cart-class“
This could be a button, link, or icon in your theme or page builder.
⚠️ Do not modify the class name.
This class can be added to any element in your theme or page builder – such as a button, text, or icon.
Here we added the class=”ec-slide-cart-class” on the page
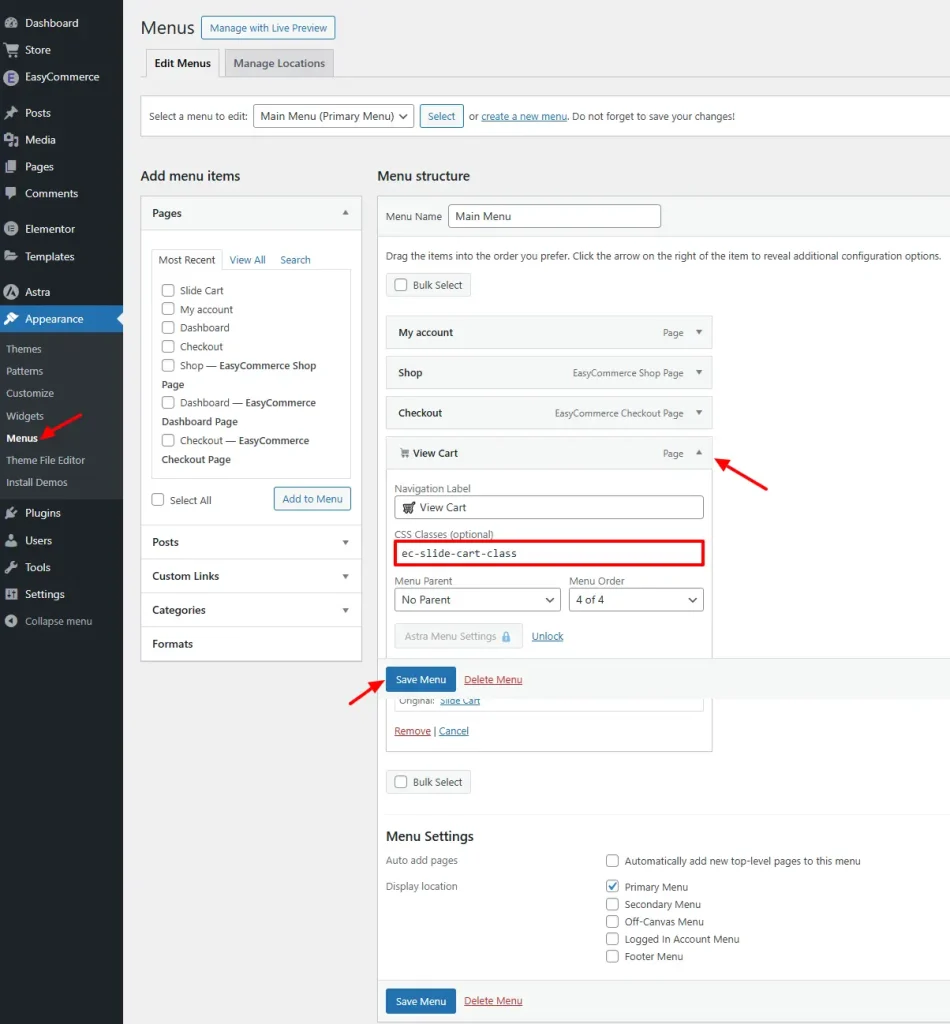
Go to Appearance > Menus, then click on the Screen Options button in the top-right corner and check the CSS Classes option.

Next, open your desired menu item, add the class name “ec-slide-cart-class”, and click Save Menu.
Step 4: Enable Sliding Cart on Click
Once the `ec-slide-cart-class` is added, clicking that element will automatically open the sliding cart, allowing users to view and manage their items instantly.
Once connected and configured, the sliding cart becomes a powerful addition to your store keeping users engaged, streamlining their journey to checkout, and ultimately increasing sales.
Was this doc helpful?