


Integrating your Slack account with your ecommerce website is simple with the EasyCommerce Slack Integration Addon. Follow a few quick steps to get everything set up and start receiving real-time store notifications in Slack.
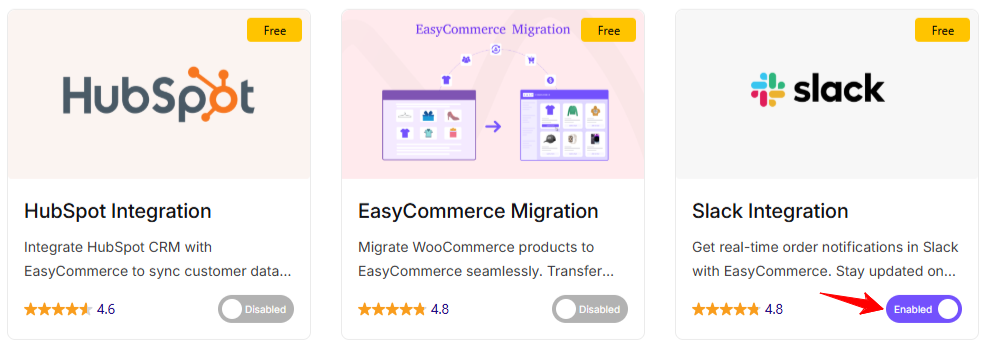
Step 1: Activate the Addon
- Sign in to your WordPress website’s dashboard.
- Go to the EasyCommerce > Addons section and click Enable under the Slack Integration addon.
- Now, EasyCommerce will automatically download, install, and activate the Slack Integration addon to your ecommerce store.
To learn more about addons activation, read this documentation on how to activate free and paid addon on EasyCommerce.
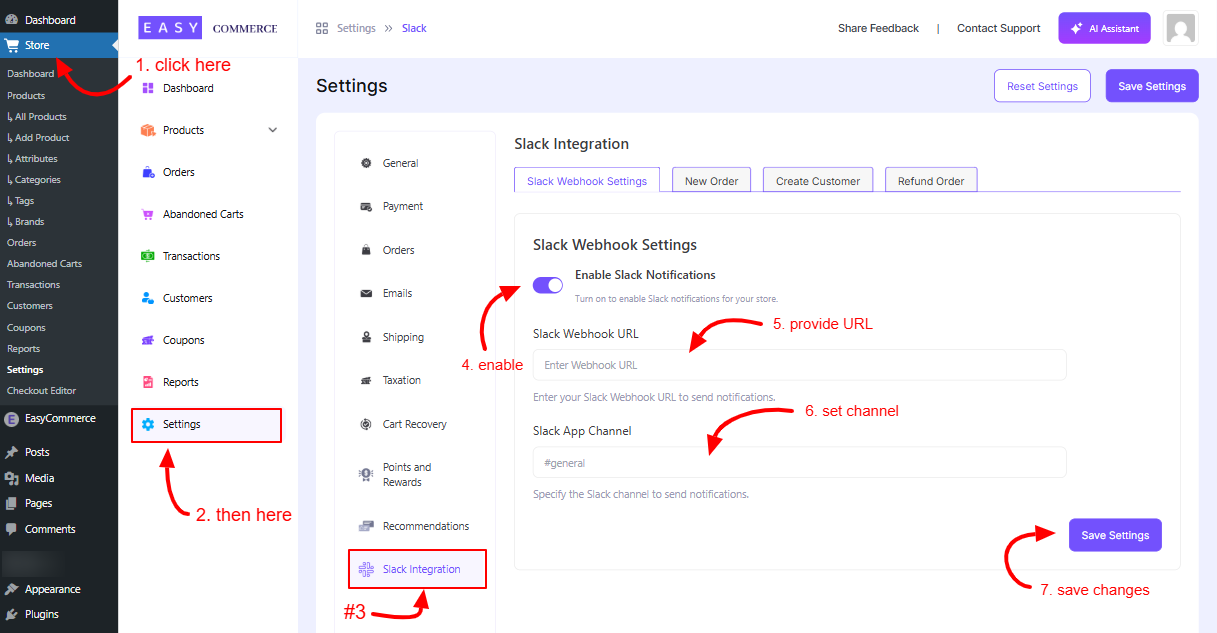
Step 2: Setup Slack Settings
- Go to EasyCommerce Store > Settings > Slack Integration.
- In the Slack Webhook Settings, click Enable Slack Notifications.
- Enter your Slack Webhook URL (learn how to get your webhook URL from here).
- Enter the specific Slack App channel you want to receive your notifications on.
- Finally, Click Save Settings to store the changes.
Step 3: Configure Slack Messages
- Go to New Order, and in the Slack Message Body, enter placeholders –
##shipping_address##
##order_id##
##customer##
##customer_email##
##order_status##
##billing_address##

- In the Create Customer section, enter the following placeholders –
##customer##
##customer_email##
- For the Refund Order, enter the placeholders –
##order_id##
##amount##
##reason##
Step 4: Save Changes
Once you’re done with all the steps, click Save Settings to start receiving Slack notifications from your store.
N.B.: You can add or remove the placeholders to customize the information you want to receive on your Slack channel.
Was this doc helpful?