


Delivery Date Picker
The Delivery Date Picker for EasyCommerce allows customers to choose their preferred delivery date during checkout.
Follow the simple steps below to install and configure the addon on your store.
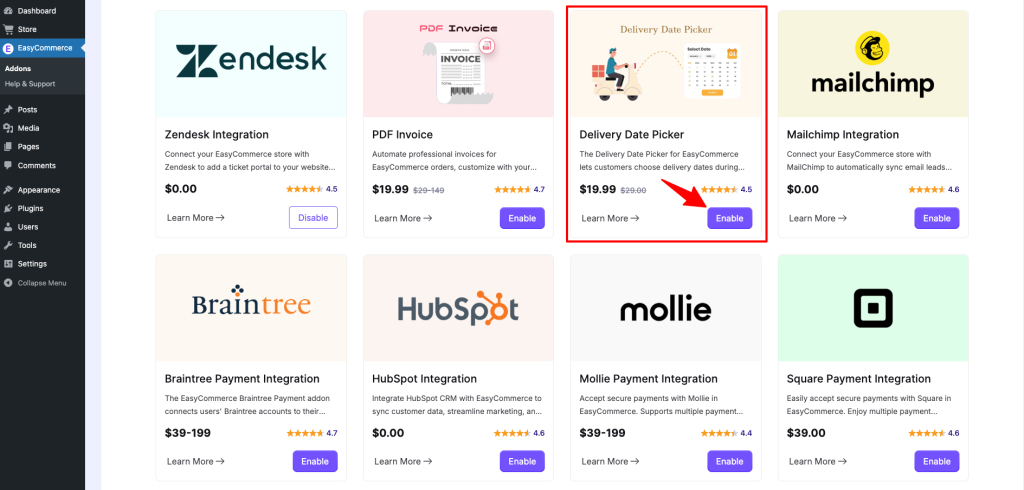
Step 1: Activate the Addon
- Sign in to your WordPress website’s dashboard.
- Go to EasyCommerce > Addons section and click Activate under the Delivery Date Picker addon.
- When installing for the first time, EasyCommerce will ask for a license key to install and activate the addon. Provide it.
- Now, EasyCommerce will automatically download, install, and activate the Delivery Date Picker addon to your Ecommerce store.
Read another documentation on how to install and activate a paid addon on EasyCommerce.
Step 2: Test the Feature
- Go to your online store and proceed to checkout.
- Verify that the Delivery Date Picker is visible and functioning correctly.
- Test the feature by selecting a delivery date and confirming that it’s properly integrated into the checkout process.
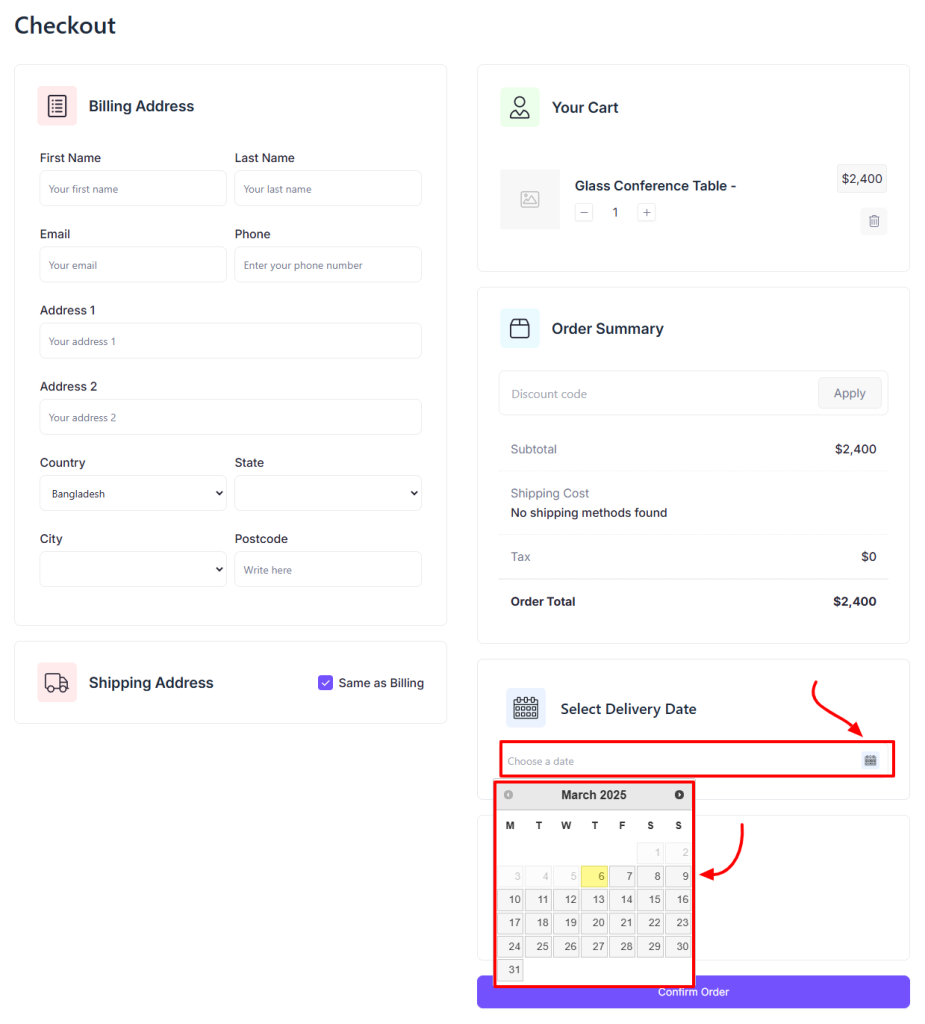
- Then confirm your order, and the information about the chosen date will be visible in the Order Details page.
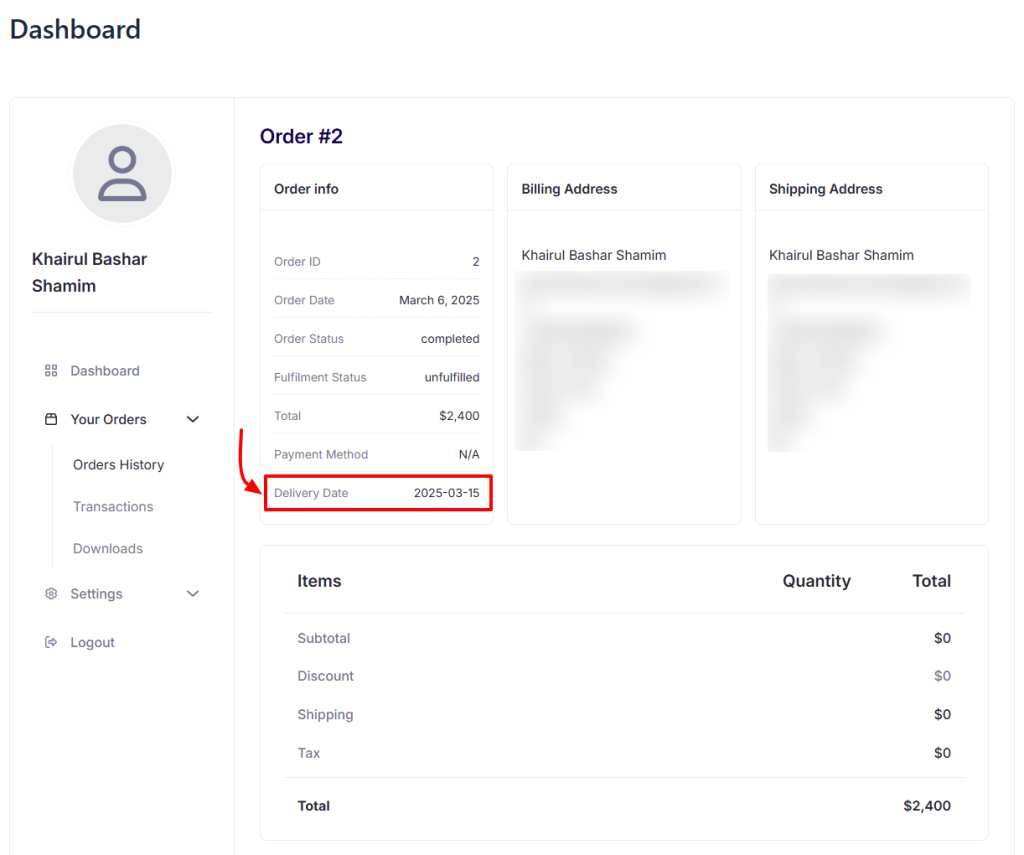
Once everything is set up, make sure to test the feature thoroughly and ensure everything works as expected. If you encounter any issues, you can contact EasyCommerce Support for assistance.
Was this doc helpful?