


Klaviyo Integration
Integrating Klaviyo with your EasyCommerce store helps you sync customer data and improve email marketing. This guide will walk you through activating the Klaviyo Integration addon, creating a Klaviyo Private API key, and setting up everything you need.
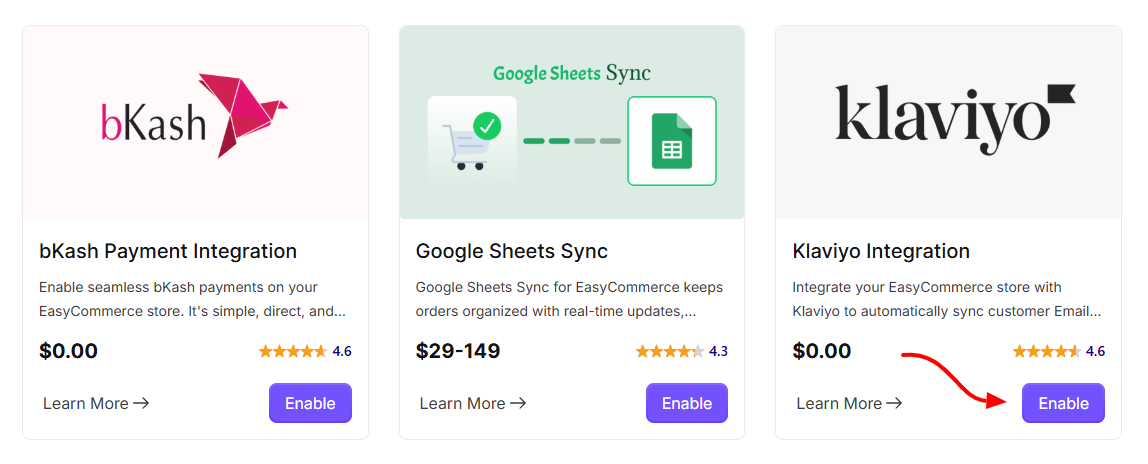
Step 1: Activate the Addon
- Sign in to your WordPress website’s dashboard.
- Go to EasyCommerce > Addons section and click Enable under the Klaviyo Integration addon.
- Now, EasyCommerce will automatically download, install, and activate the Klaviyo addon to your ecommerce store.
To learn more about addons activation, read this documentation on how to activate free and paid addon on EasyCommerce.
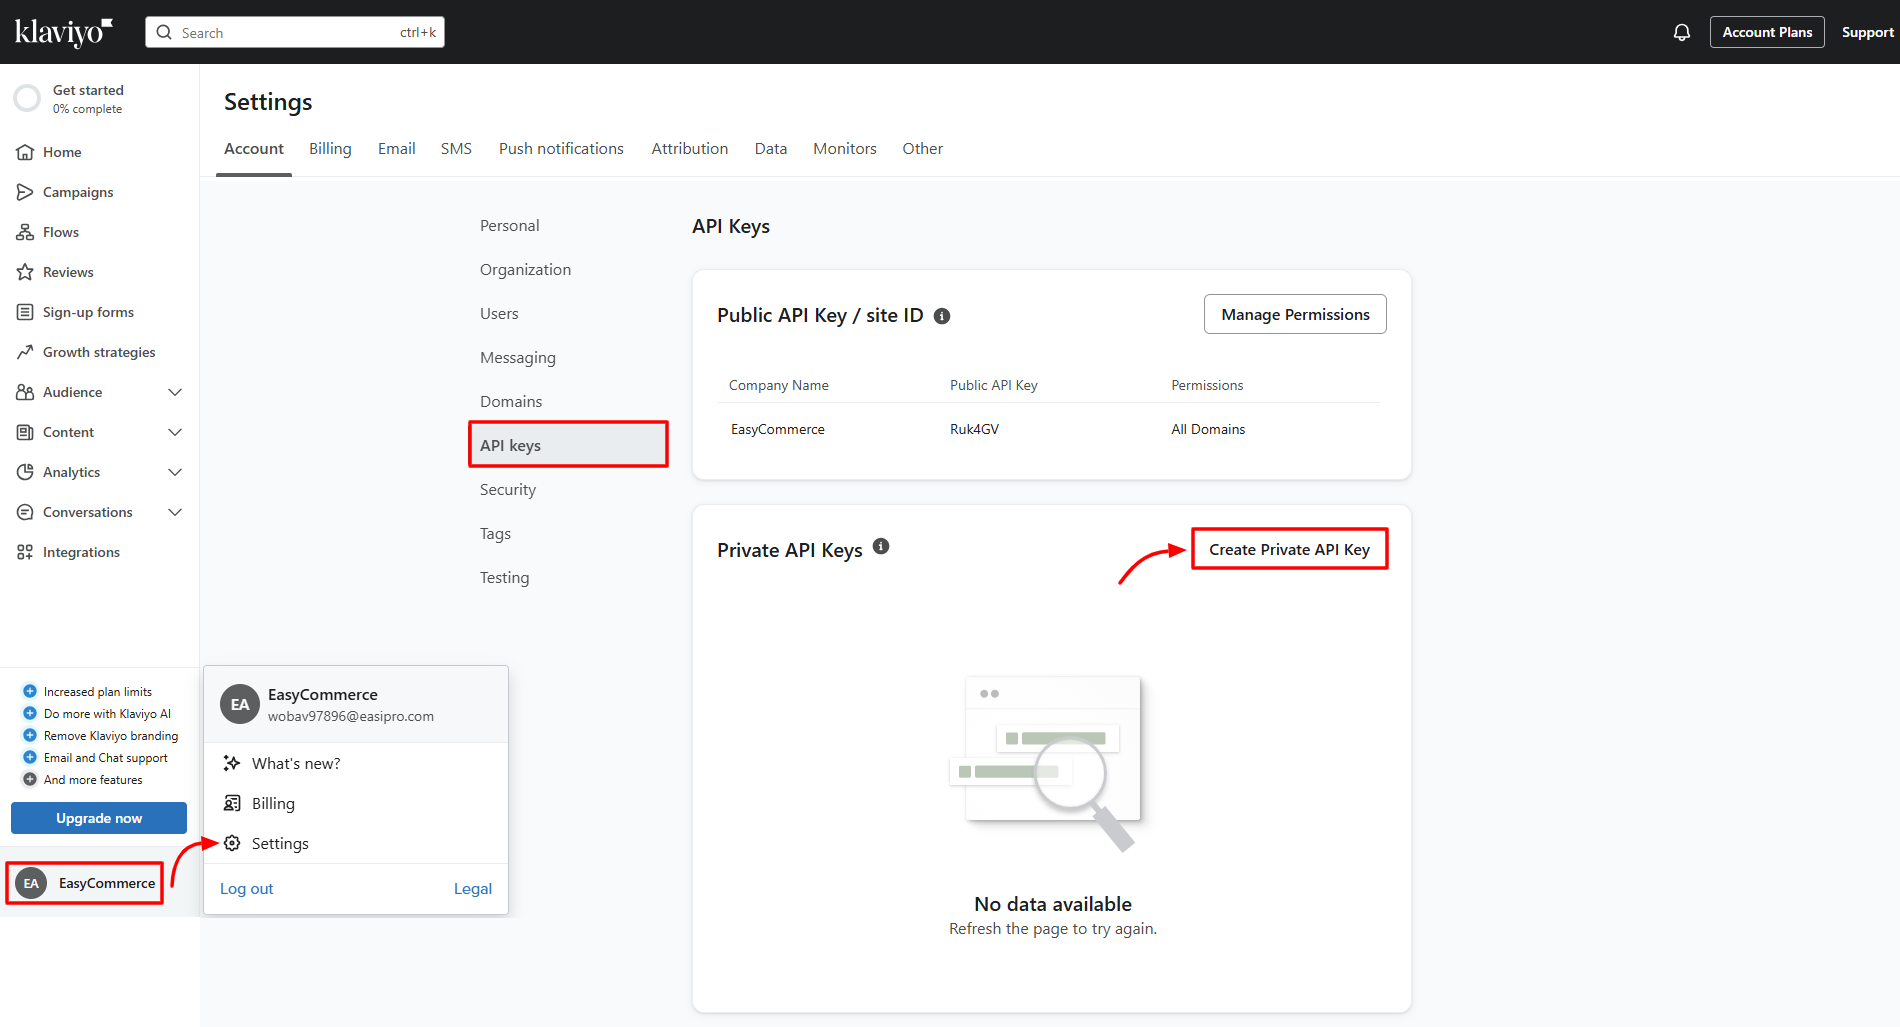
Step 2: Create Klaviyo Private API key
- Sign in to your Klaviyo account.
- Navigate to Account Settings > API Keys.
- Click on “Create Private API Key”.
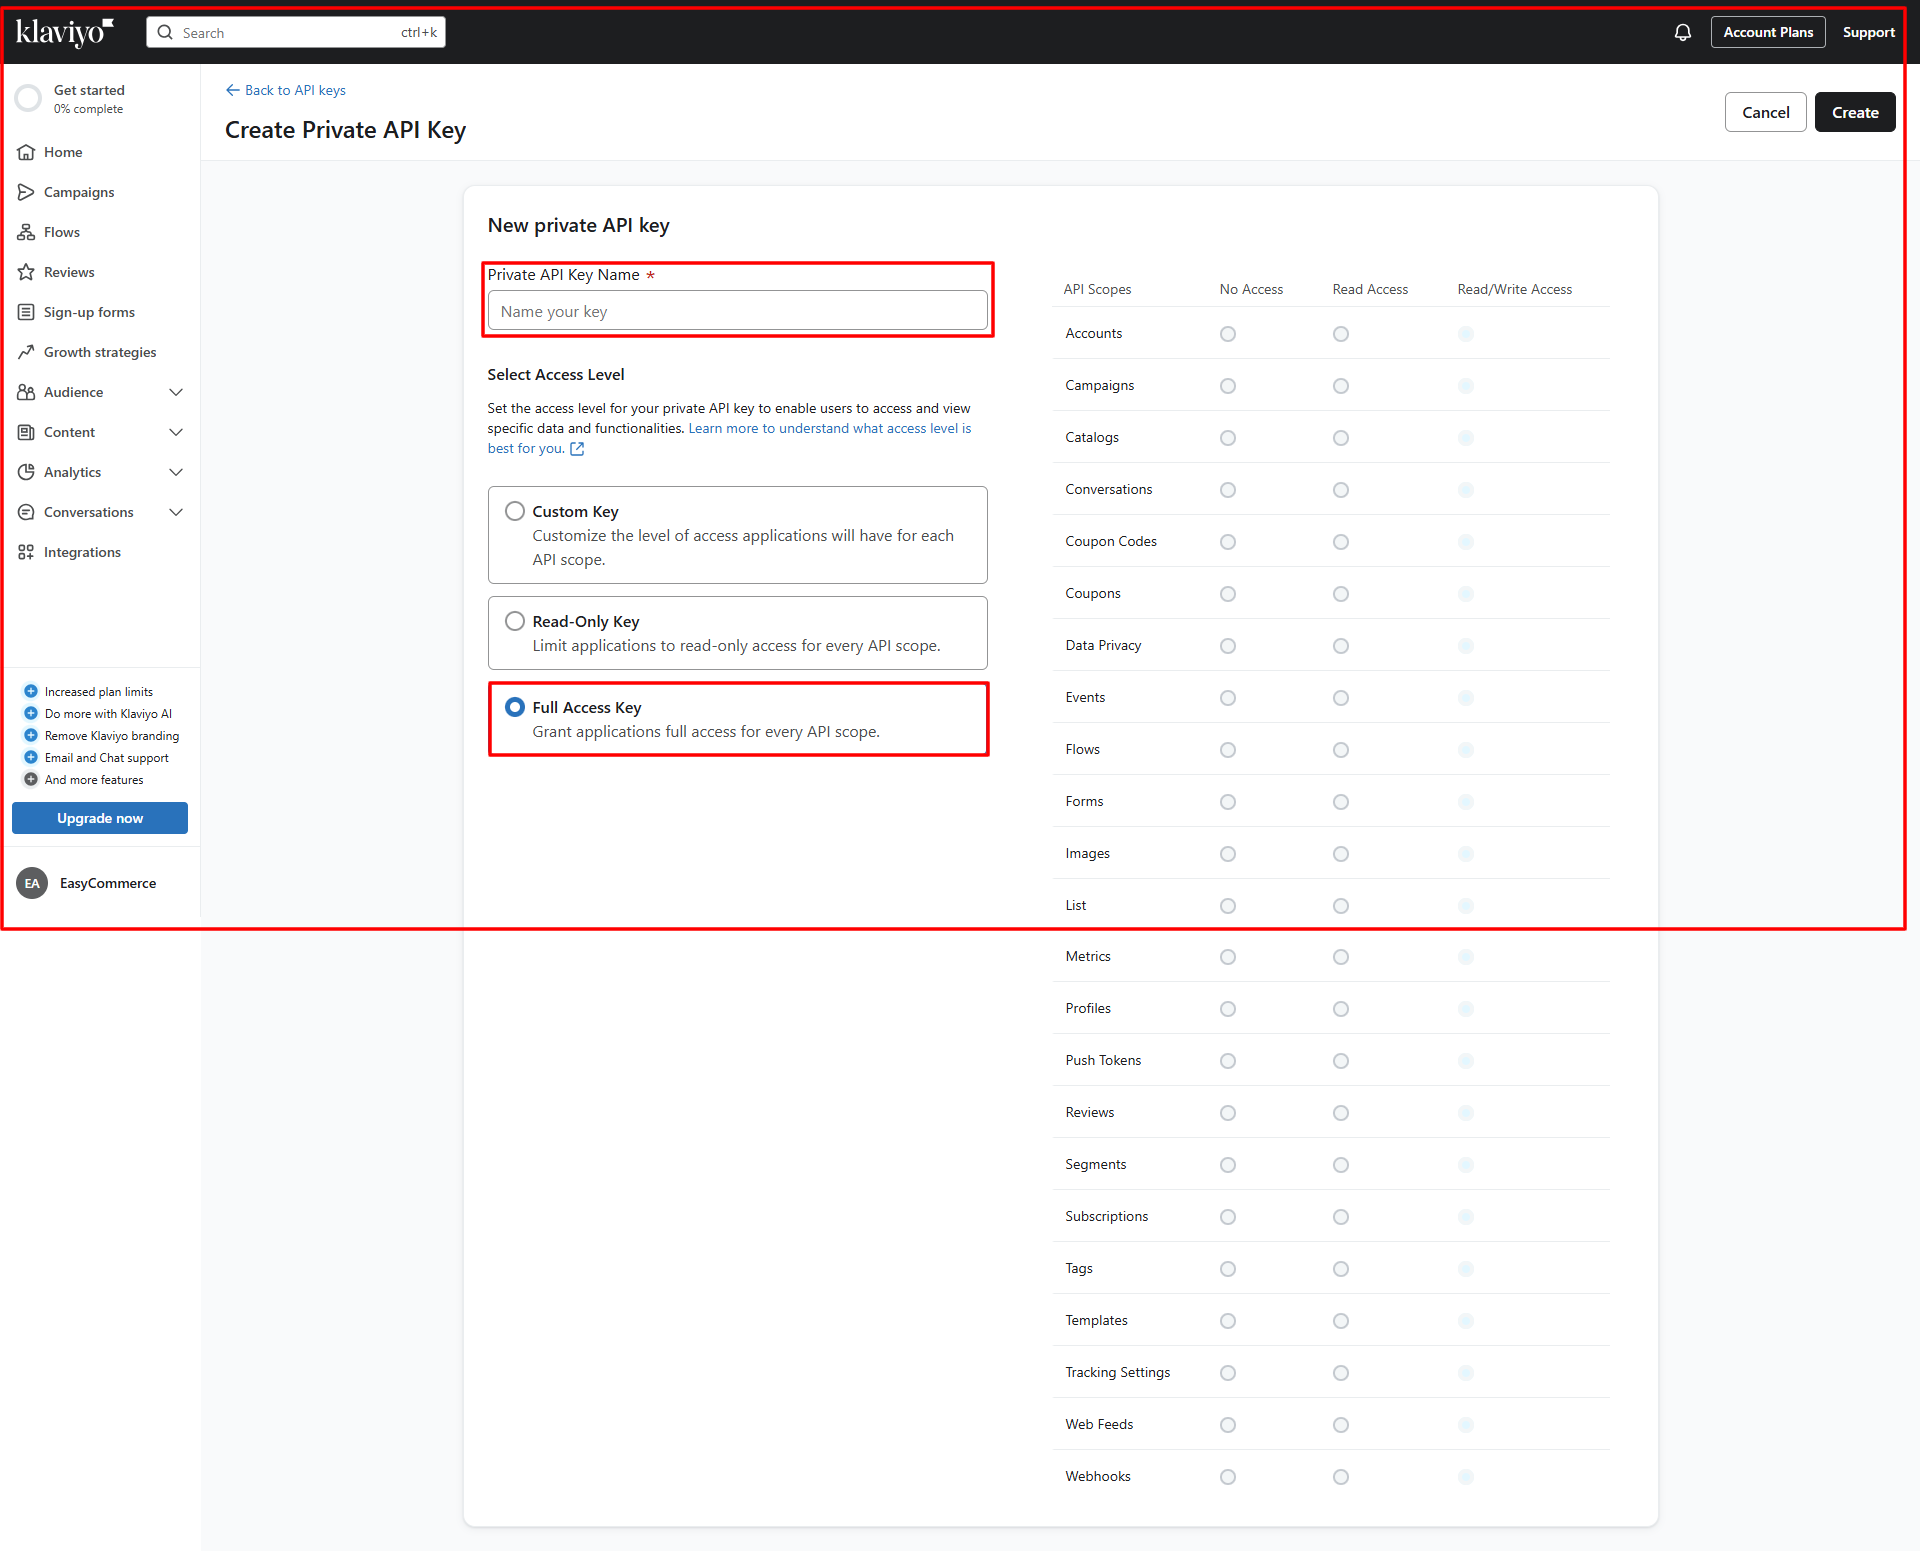
- Enter a name for the key.
- Select "Full Access Key" as the access level.
- Copy the generated API key for later use.
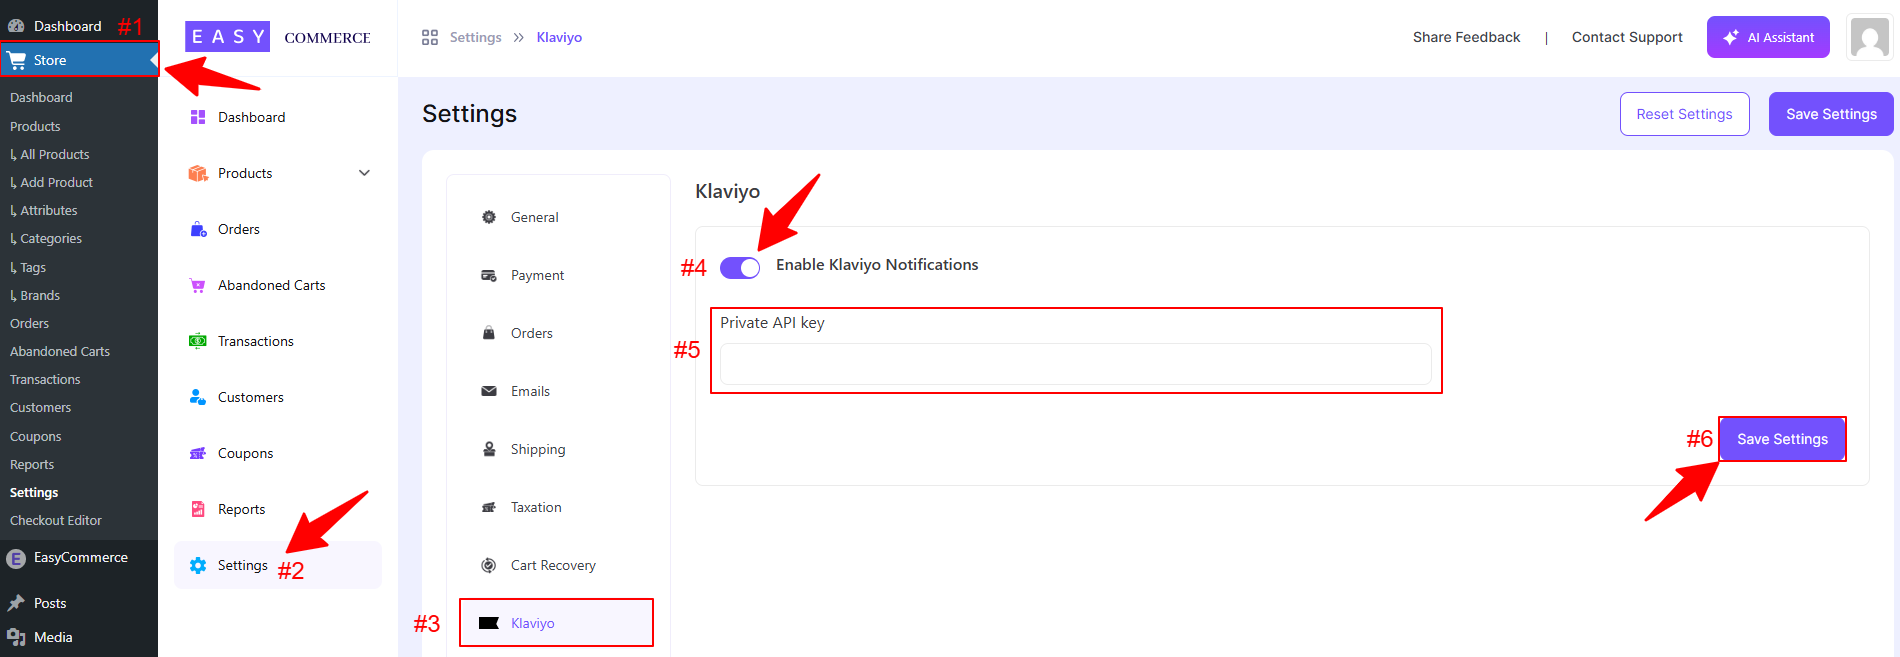
Step 3: Configure Klaviyo Settings
- Go to Store > Settings > Klaviyo.
- Toggle and activate the "Enable Klaviyo Notifications" button.
- Enter your Klaviyo "Private API key" that we have created and copied in Step 2.
- Finally, tap "Save Settings" to store the changes.
Step 4: Verify Data Sync
- Customer order emails will now be stored in Klaviyo’s profile list.
Finally, check that customer data is syncing correctly between EasyCommerce and Klaviyo. If everything looks good, you're all set!
Was this doc helpful?