


Integrating Rocket as a payment gateway with EasyCommerce allows you to offer your customers a secure and convenient way to pay during checkout.
This guide walks you through the process of activating and configuring the Rocket Payment Integration addon on your EasyCommerce store.
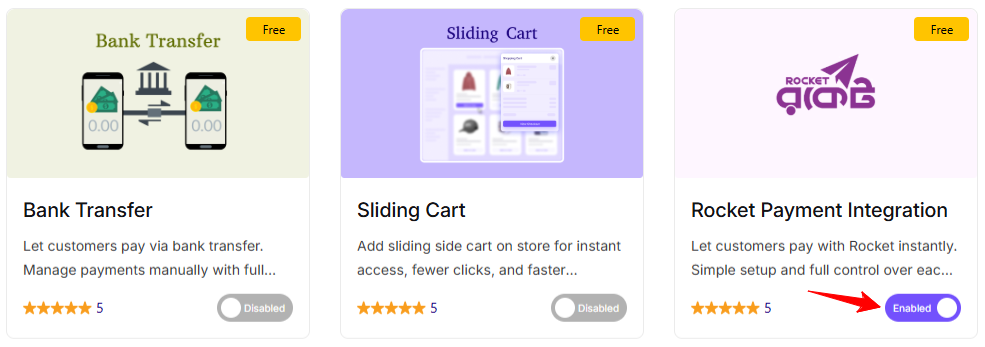
Step 1: Activate the Addon
- Sign in to your WordPress website’s dashboard.
- Go to EasyCommerce > Addons section and make it “Enabled” under the Rocket Payment Integration addon.
To learn more about addons activation, read this documentation on how to activate free and paid addon on EasyCommerce.
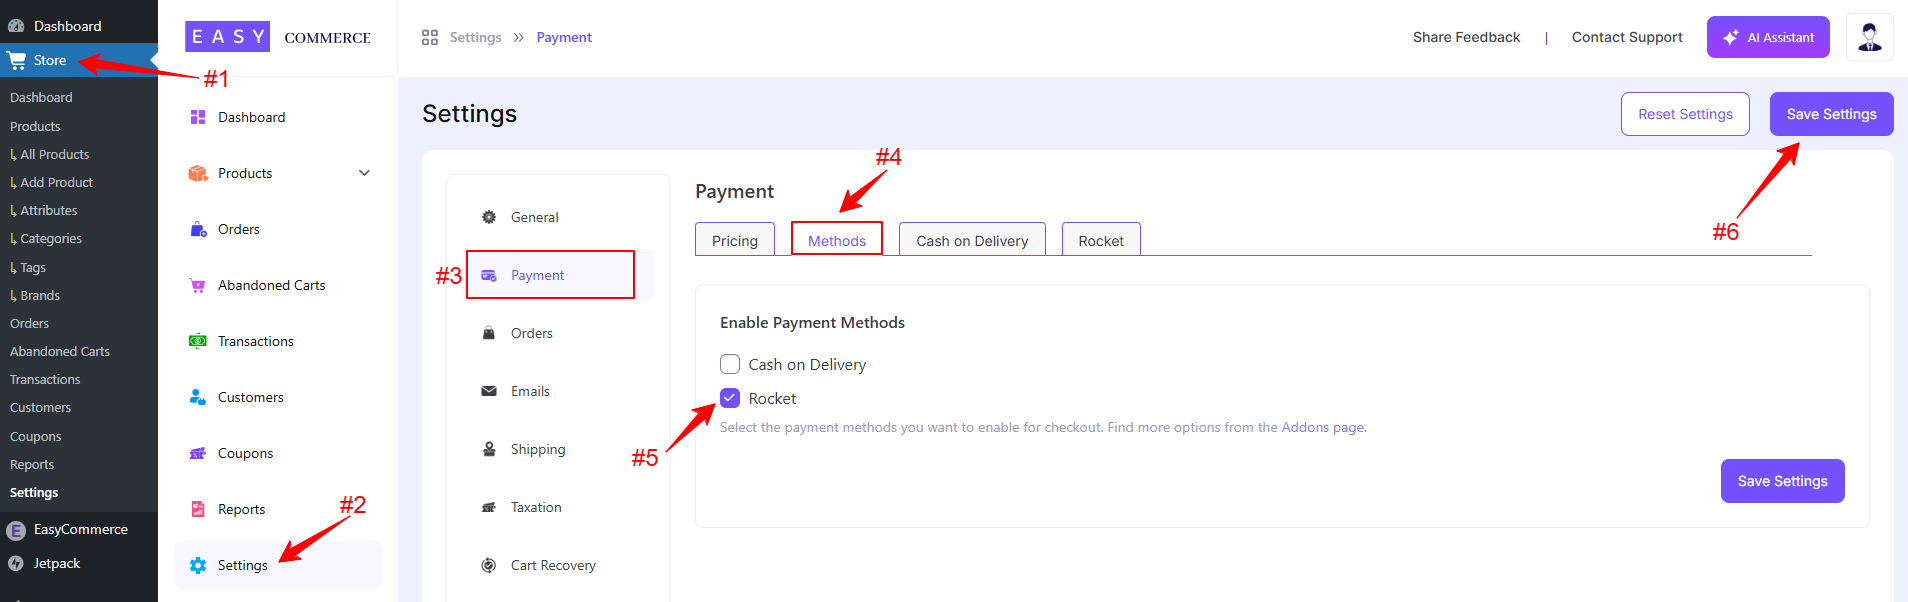
Step 2: Navigate to Payment Settings
- Go to Store > Settings > Payment > Methods.
- Enable Rocket as your payment gateway.
- Tap ‘Save Settings’ to finalize the changes.
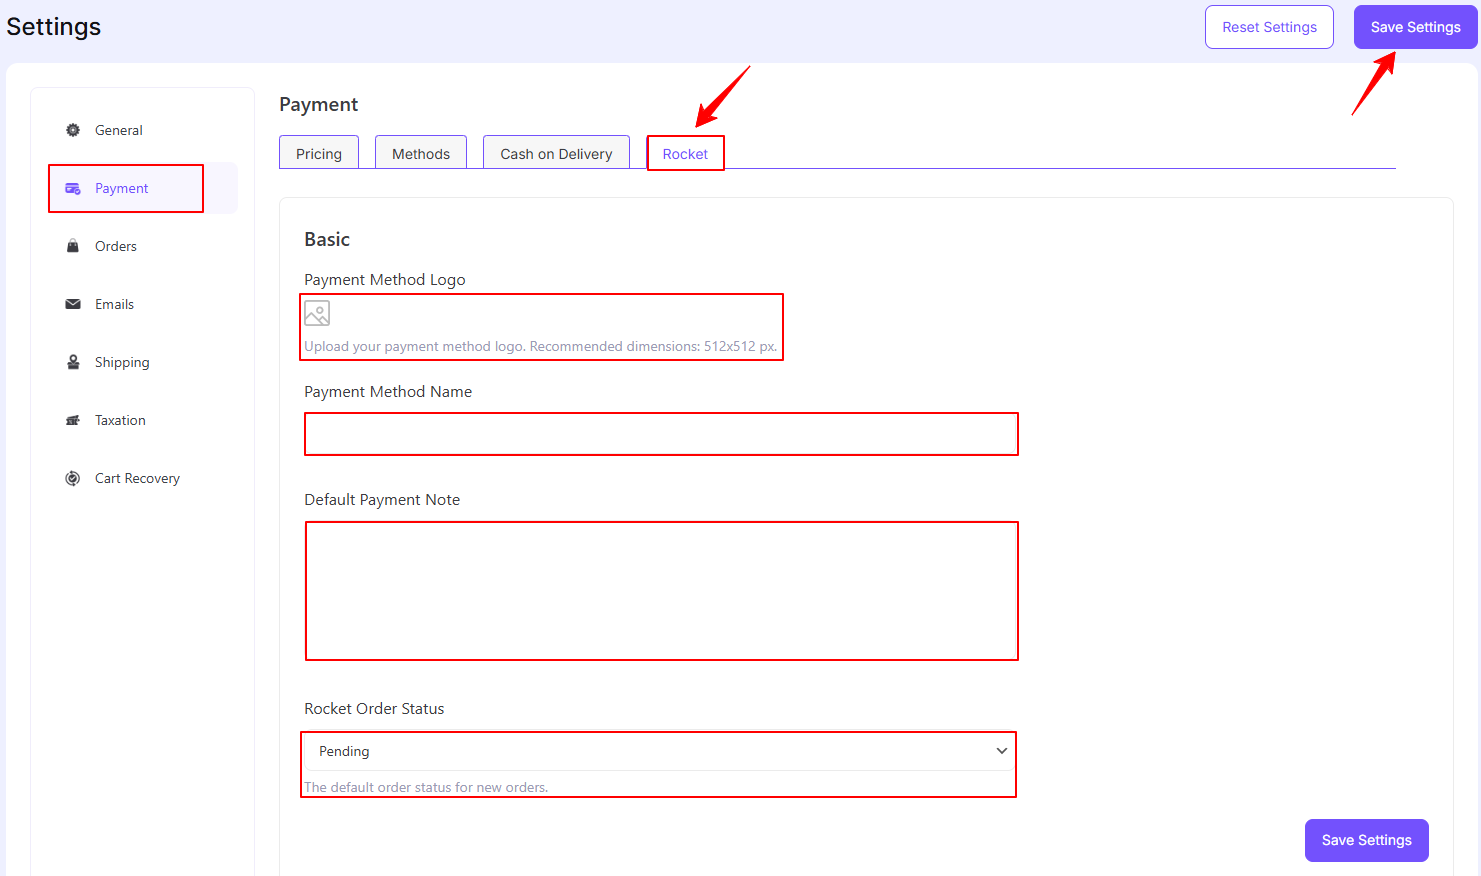
Step 3: Configure Rocket Settings
- Access the Rocket addon settings tab beside the ‘Methods’ tab.
- Add the Rocket payment method logo from Media Library.
- Enter the Payment Method Name.
- Give a Default Payment Note, which will include your personal Rocket number.
- Configure the default status payment gateway settings.
- Once you’re done with all the steps, click ‘Save Settings‘.
Now that Rocket payment gateway is configured and enabled on your EasyCommerce Store, your customers will be able to complete their purchases with ease.
Was this doc helpful?