


Integrating your Square account into your ecommerce website is made effortless with the EasyCommerce made Square payment gateway addon. Simply follow these easy steps for a smooth setup.
To learn more about addons activation, read this documentation on how to activate free and paid addon on EasyCommerce.
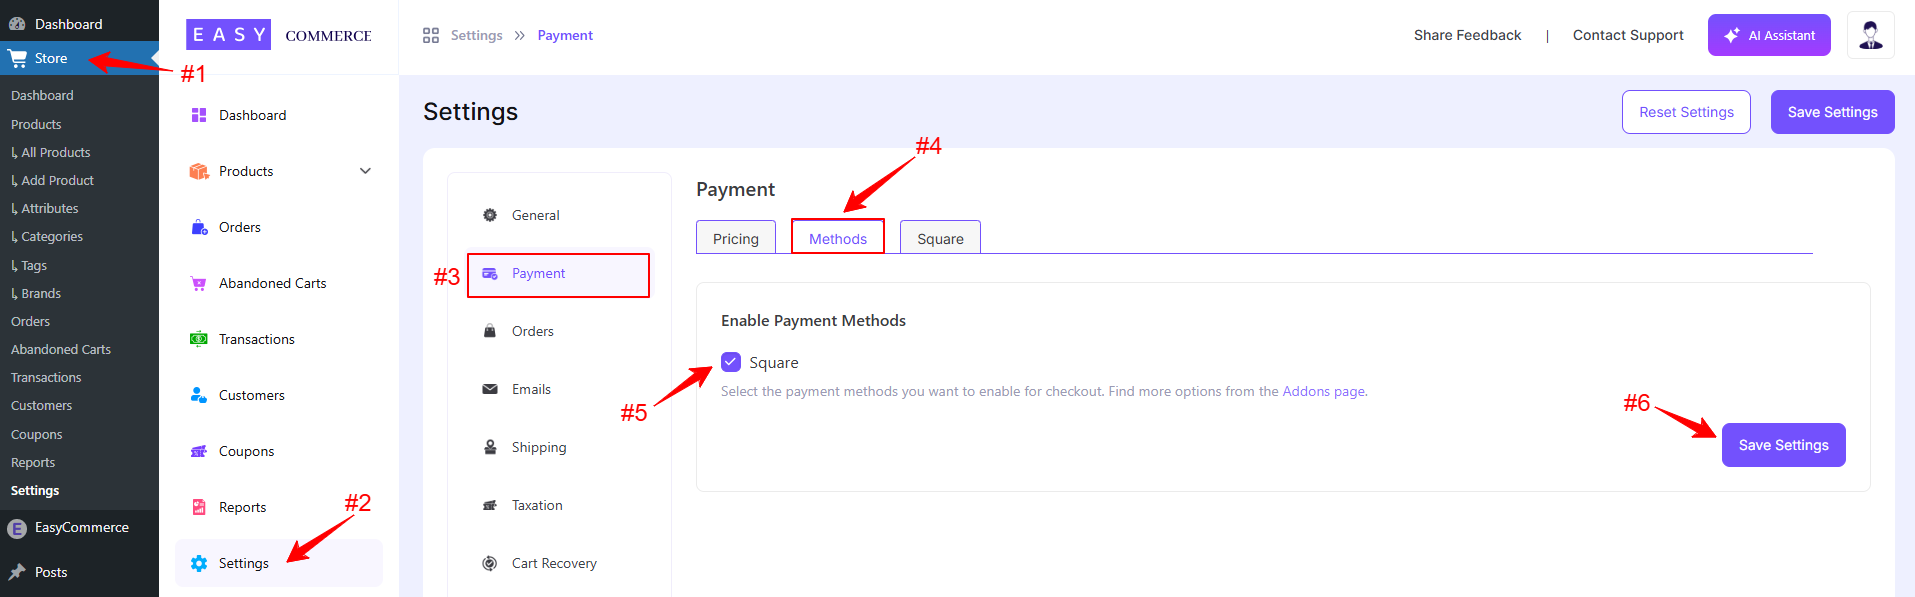
Step 1: Navigate to Payment Settings
- Go to Store > Settings > Payment > Methods.
- Select Square as your payment gateway.
- Tap ‘Save Settings’ to finalize the changes.
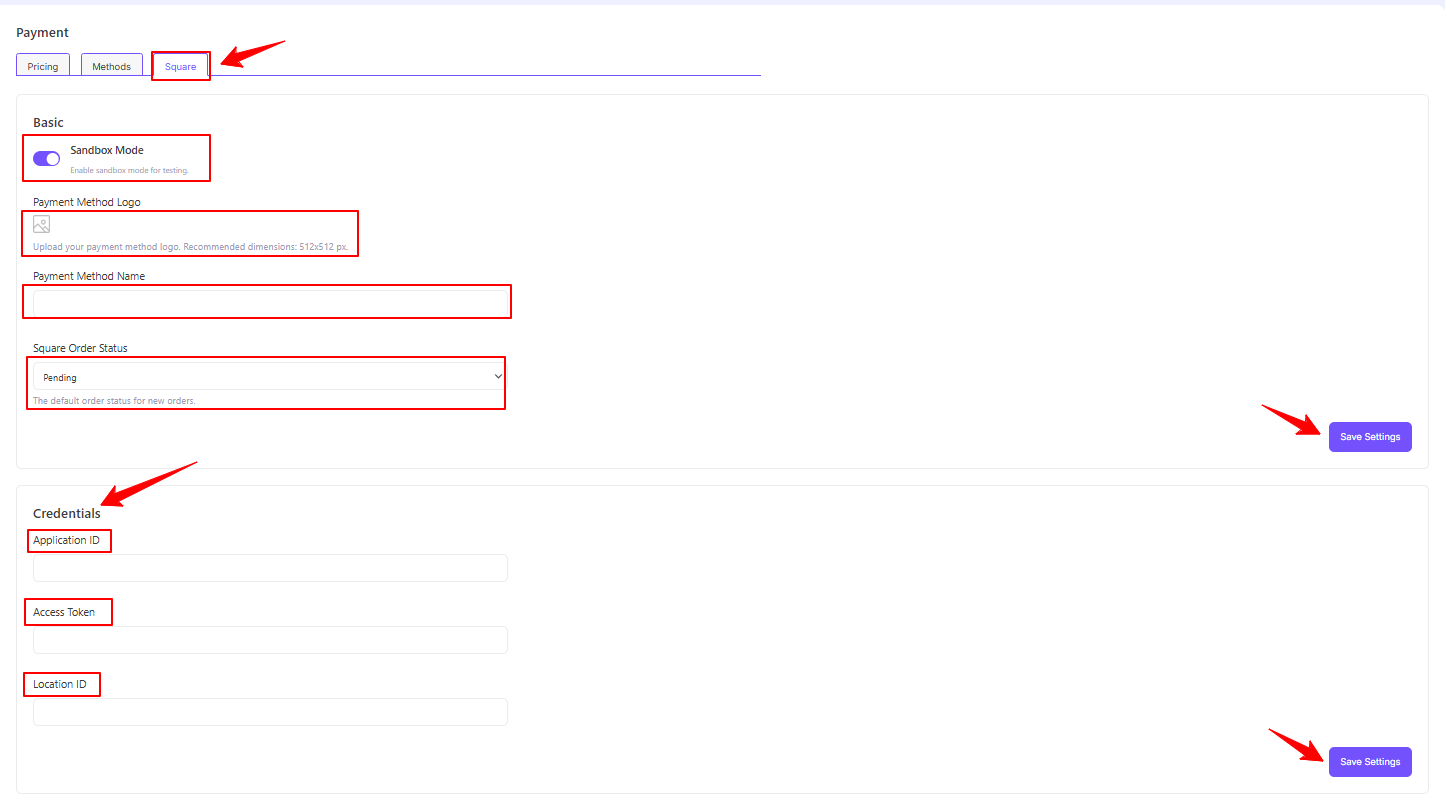
Step 2: Configure Square Settings
- Access the Square addon settings tab, beside the ‘Methods’ tab.
- Enable the ‘Sandbox Mode’ (optional).
- Configure the payment gateway settings with a name, logo and default status.
- Enter your Square account credentials, i.e. Application ID, Access Token, and Location ID to verify your connection.
- Finally, tap ‘Save Settings’ to store the changes.
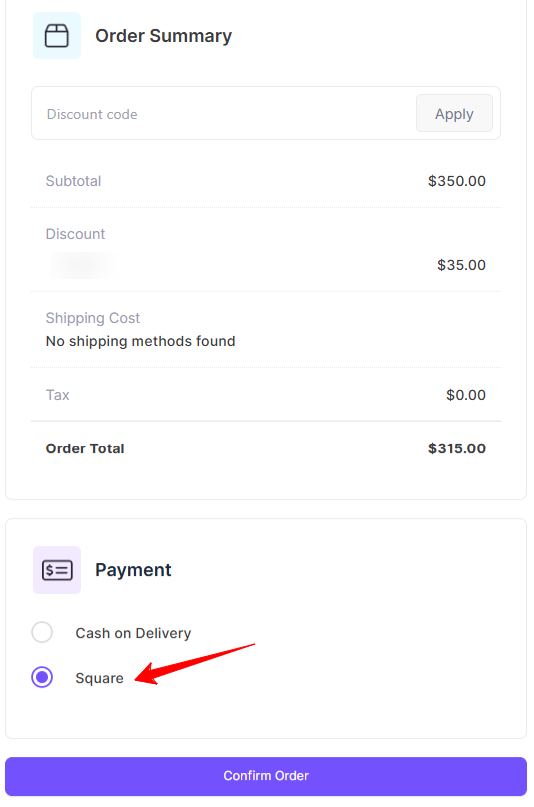
Step 3: Test the Integration
- Test your account for accurate transaction activities using Square’s Sandbox Environment.
- Once testing is complete, switch to live mode and start accepting payments.
Was this doc helpful?