


Now that you’ve activated EasyCommerce on your WordPress website, let’s set up a few fundamental things for your store using the setup wizard.
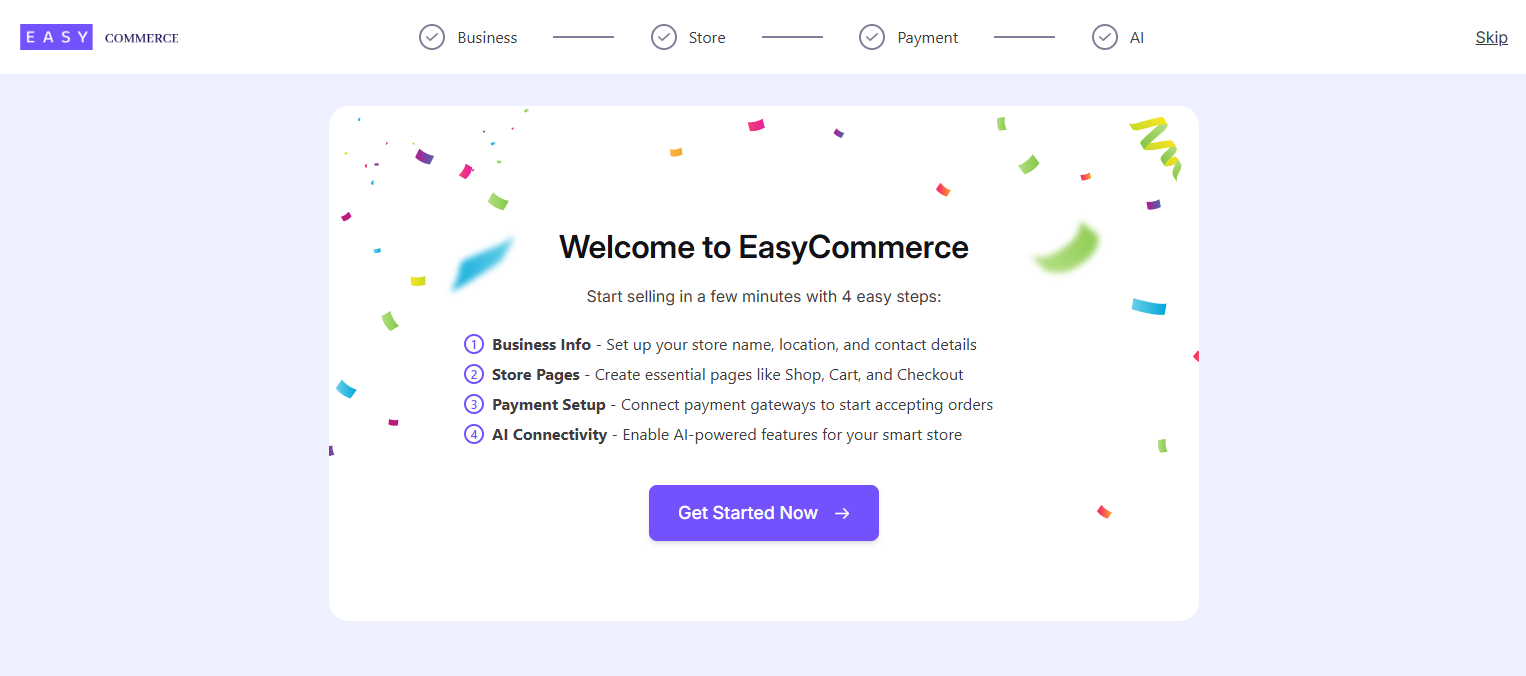
The EasyCommerce setup wizard includes four easy steps to help create an online store in an instant. In this guide, we will go through each step in detail below to help you Get Started with your ecommerce store.
Business
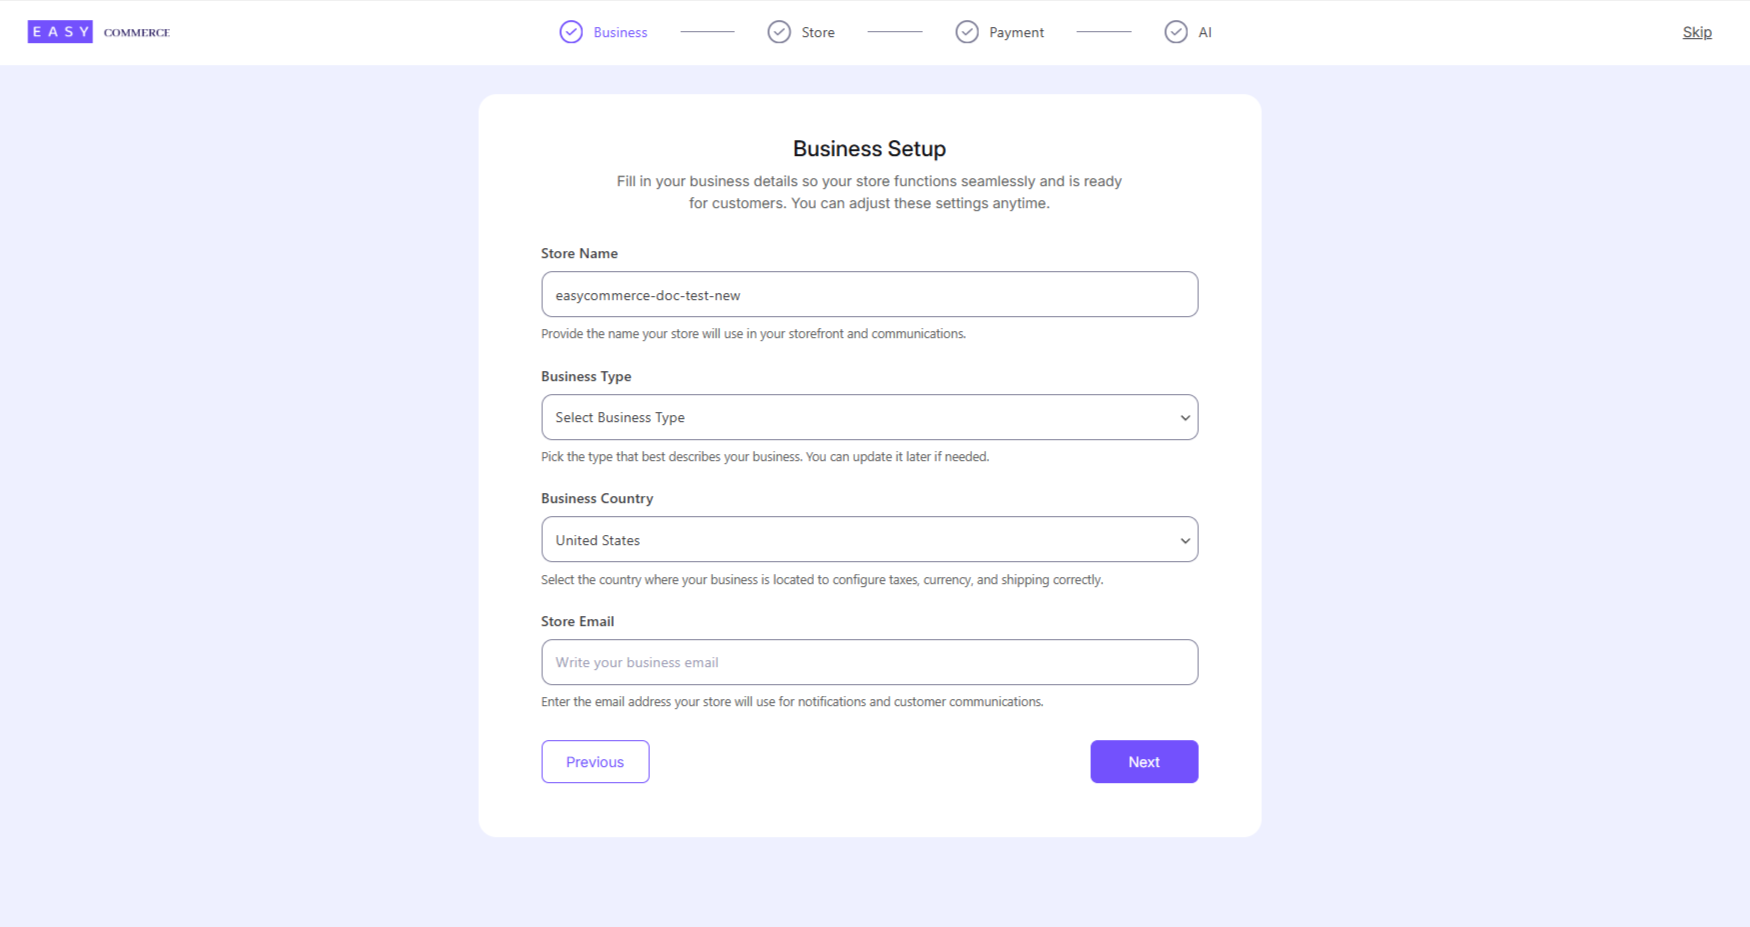
You will be greeted with the Business section to Setup Brand once you’re redirected to the setup wizard. Enter your store’s brand information from this section. Click on Get Started Now button.
After that, enter the store’s name, select your business type, upload/select the logo of your store from your media library, and add your business country and email address.
Note: You can change or update this information by going to Plugins > Installed Plugins > EasyCommerce > Setup Wizard anytime!
Once you’re done, click the Next button to move on to the Store section of the setup wizard.
Store
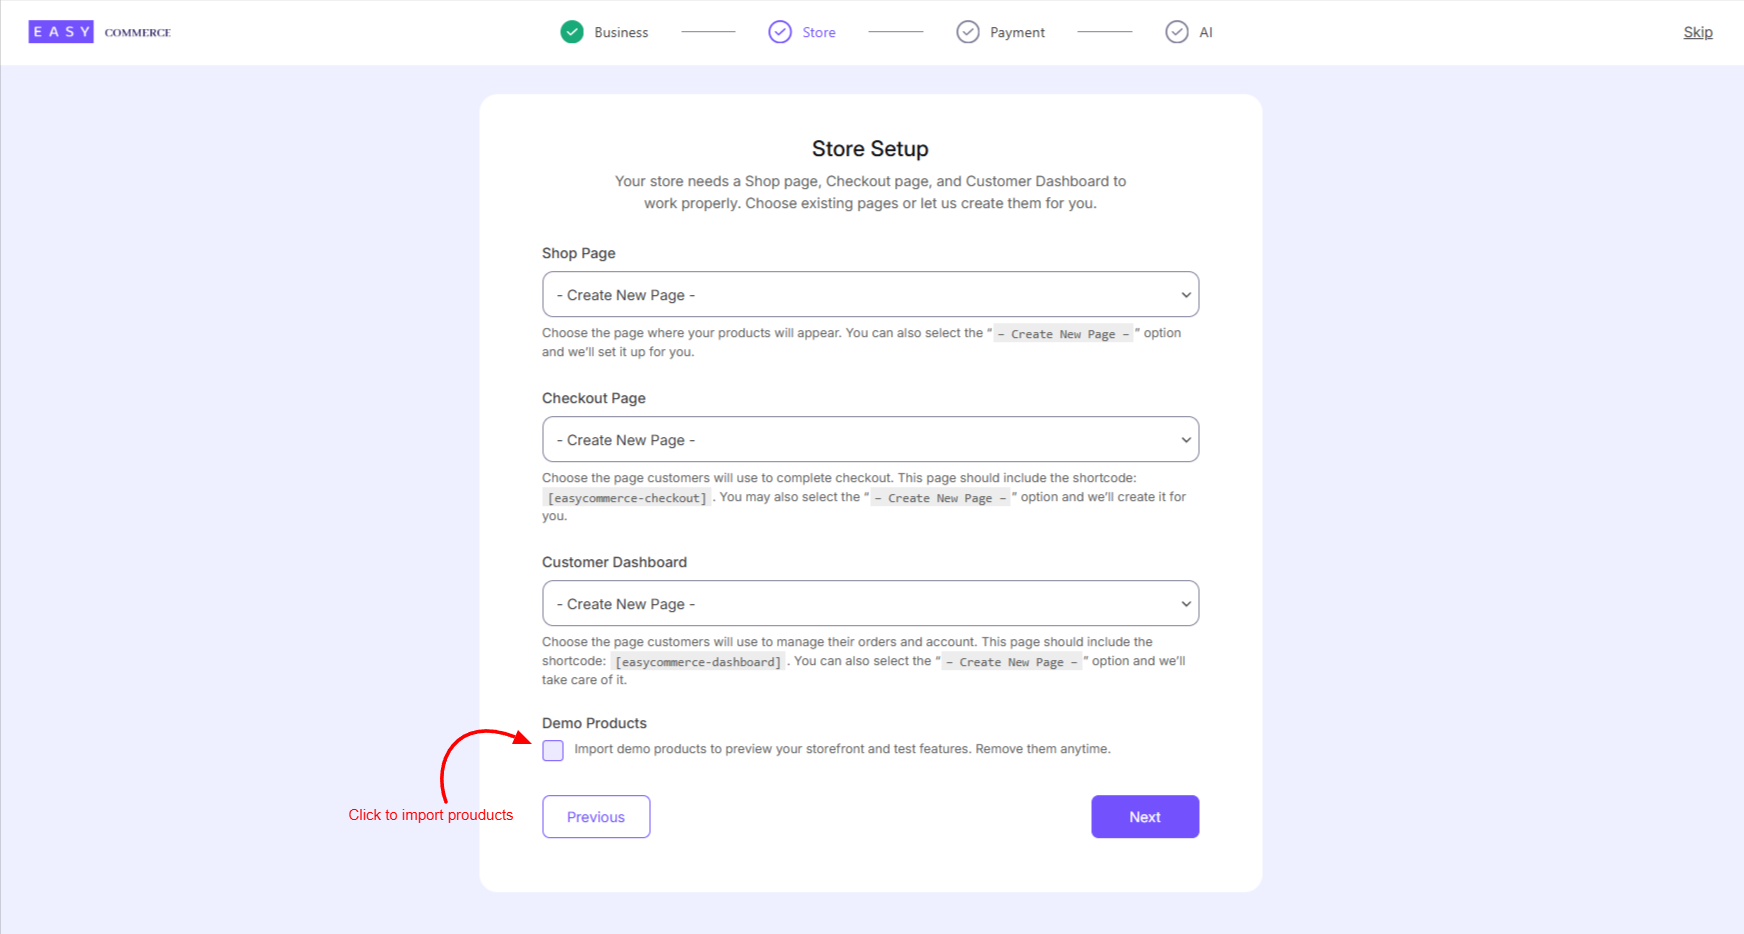
In this section, you can set up some of the important pages needed for your store to function properly.
You have two options:
- Assign existing pages from your site to key roles like Shop, Checkout, Customer Dashboard etc. and enable the checkbox to import Demo Products
- Or, you can select Create New Page, and EasyCommerce will automatically generate these pages for you with the appropriate shortcodes already added.
Once you’re done, click the Next button to move on to the Payment section of the setup wizard.
Payment
In this section, you can configure your store’s payment settings. Select the currency based on your country, choose the preferred currency format, and add a payment method if available.
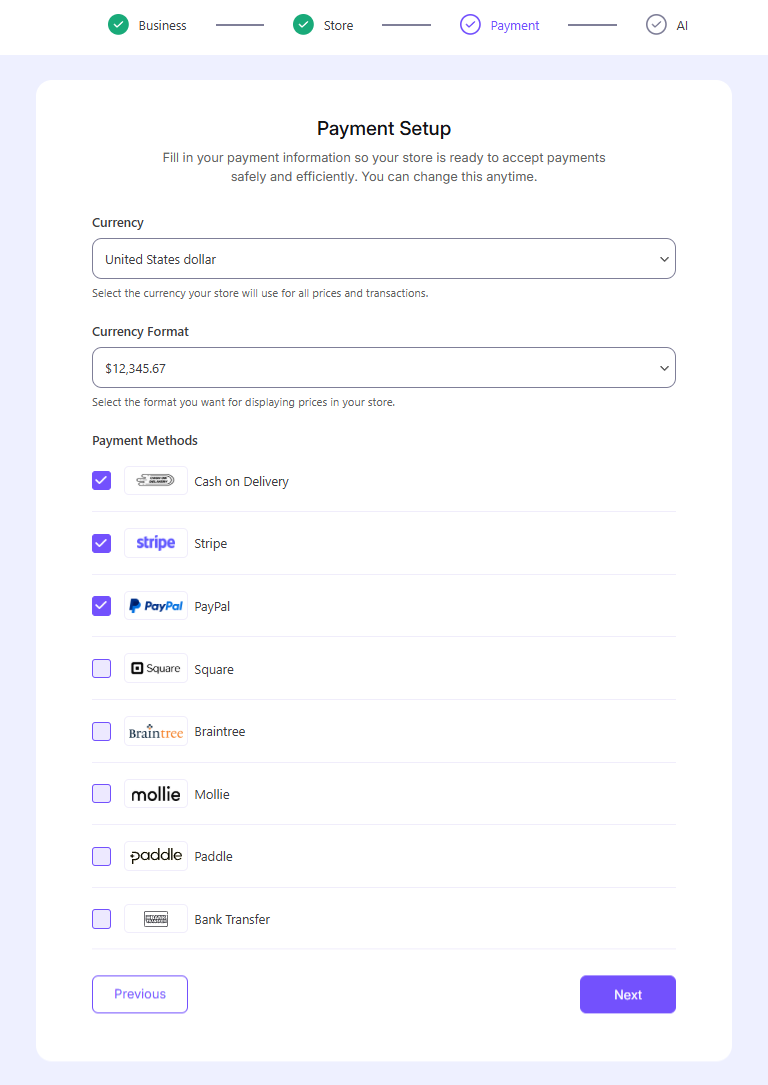
Once you’re done, click the Next button to move on to the AI section of the setup wizard.
AI
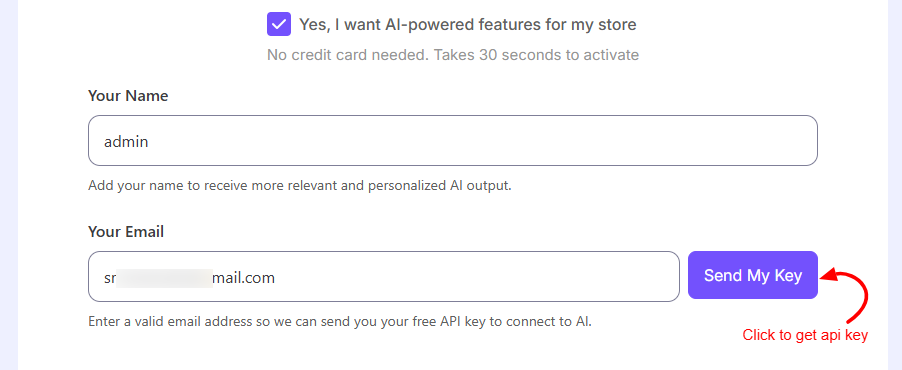
This section allows you to connect with the EasyCommerce system for a smoother and more streamlined store management experience. Simply enter your full name and email address.
There is also an checkbox for enabling AI powered features. You can check this box if you want to enable AI features.

Once you’re done. Simply enter your full name and email address click the Send My Key button. You will receive an email with an API token, which you can use to complete your integration with EasyCommerce.
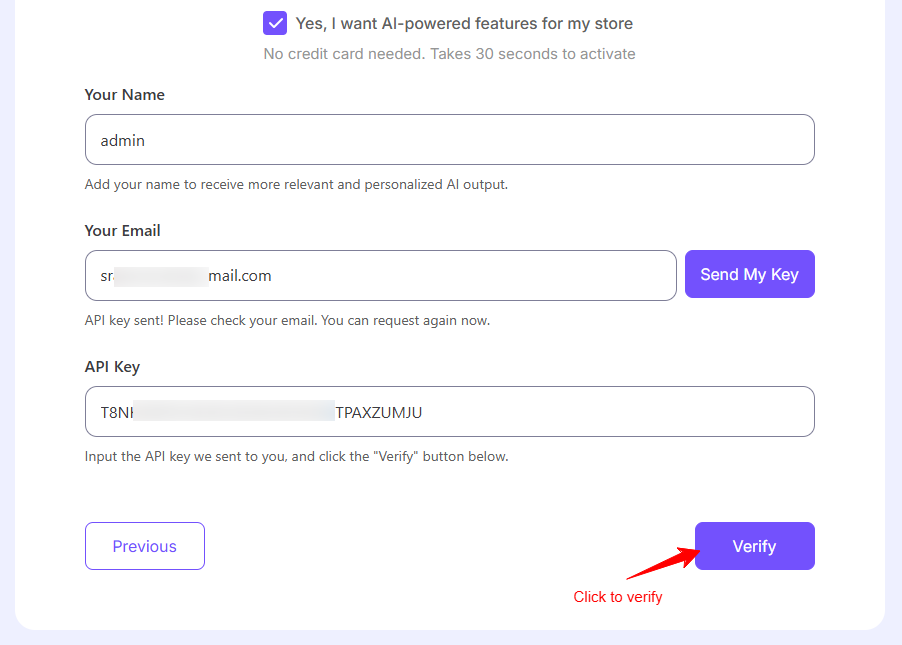
Provide the token in the required field and click the Verify button to finish your setup wizard journey
Congratulations, you are all set!
From here, you can explore the documentation, browse available addons, or explore store dashboard to create new product for your store.

If you prefer to skip the setup process shown in this guide, you can manually create the required pages by following the General Settings Guide.
How to use your API token for EasyCommerce
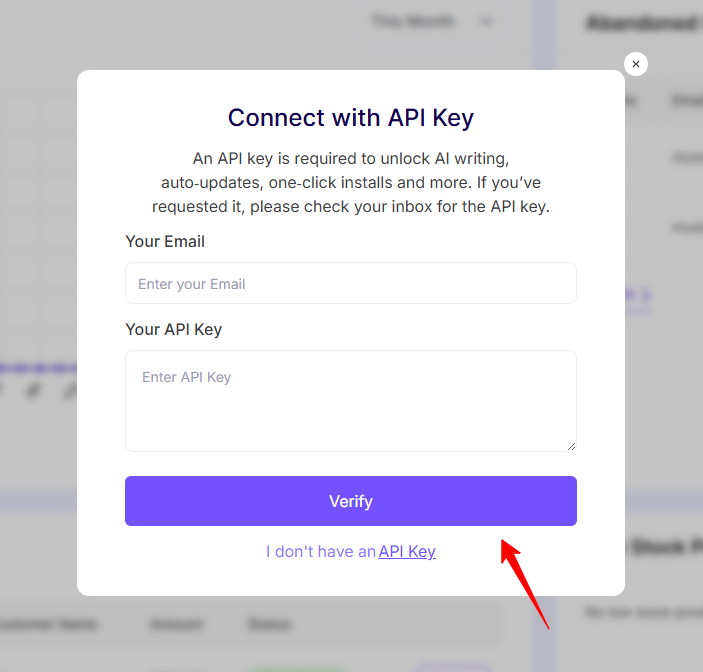
You can also apply your API key from EasyCommerce’s dashboard. Go to EasyCommerce > Store, find the Account Icon from the Below left corner. Click the Connect button.

After that, you will discover a popup. Click any button showing on the popup. You have to enter your email and the token you’ve already received, and hit the ‘Verify’ button to instantly connect with EasyCommerce.
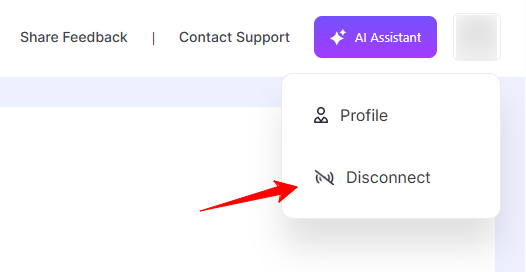
To disconnect from EasyCommerce, simply hover over the Account Icon and click Disconnect.
Was this doc helpful?