


Integrating Zendesk into your ecommerce website is straightforward with the EasyCommerce Zendesk Integration addon. Follow a few quick steps to get everything set up and start managing your EasyCommerce store support tickets from your Zendesk account.
Step 1: Download the Addon
- Sign in to your WordPress website’s dashboard.
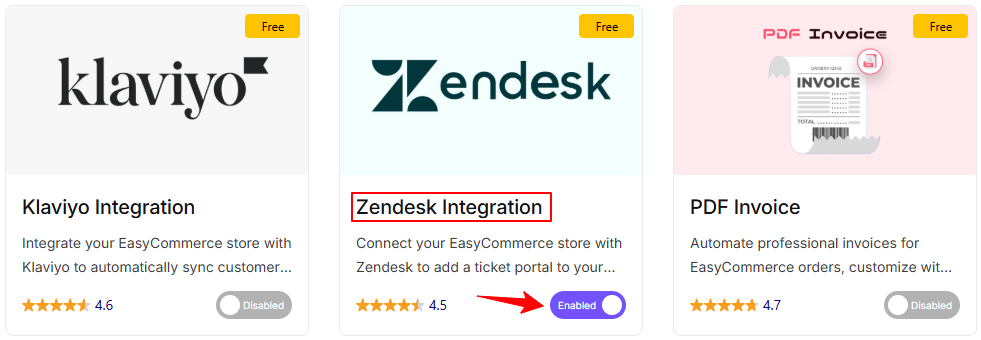
- Go to EasyCommerce > Addons section and make it “Enabled” under the Zendesk integration addon.
Read another documentation on how to install and activate a paid addon on EasyCommerce.
Step 2: Configure Zendesk Settings
- Go to EasyCommerce Store > Settings > Zendesk.
- Click the toggle to enable its functionality on your store.
- Enter your Zendesk Subdomain.
- Provide your Email Address.
- Enter your API Token (learn how to get your access token from here).
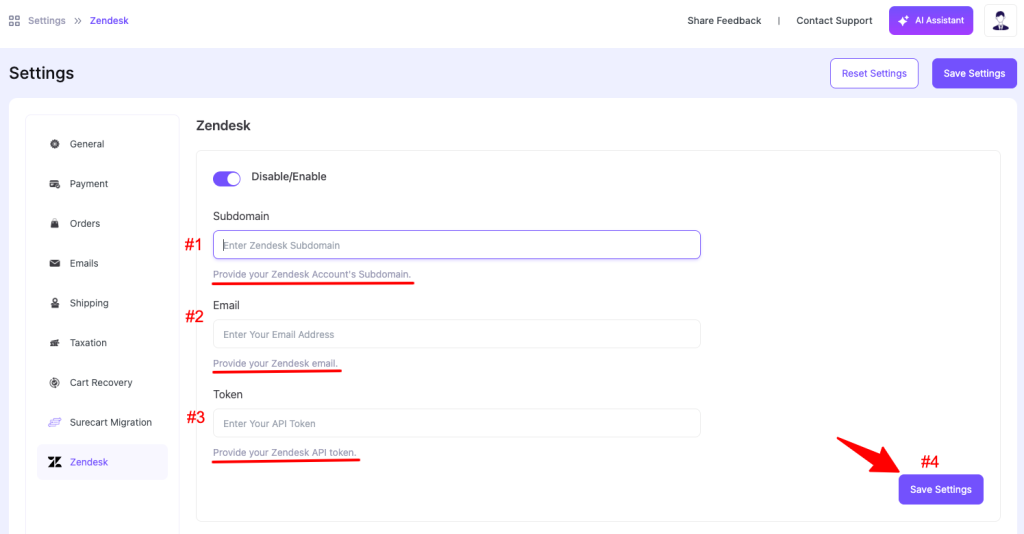
Step 3: Save Changes
Once you’re done with all the steps, click Save Settings to add the support ticket button to your store and start receiving queries to your Zendesk ticket list.
Was this doc helpful?